
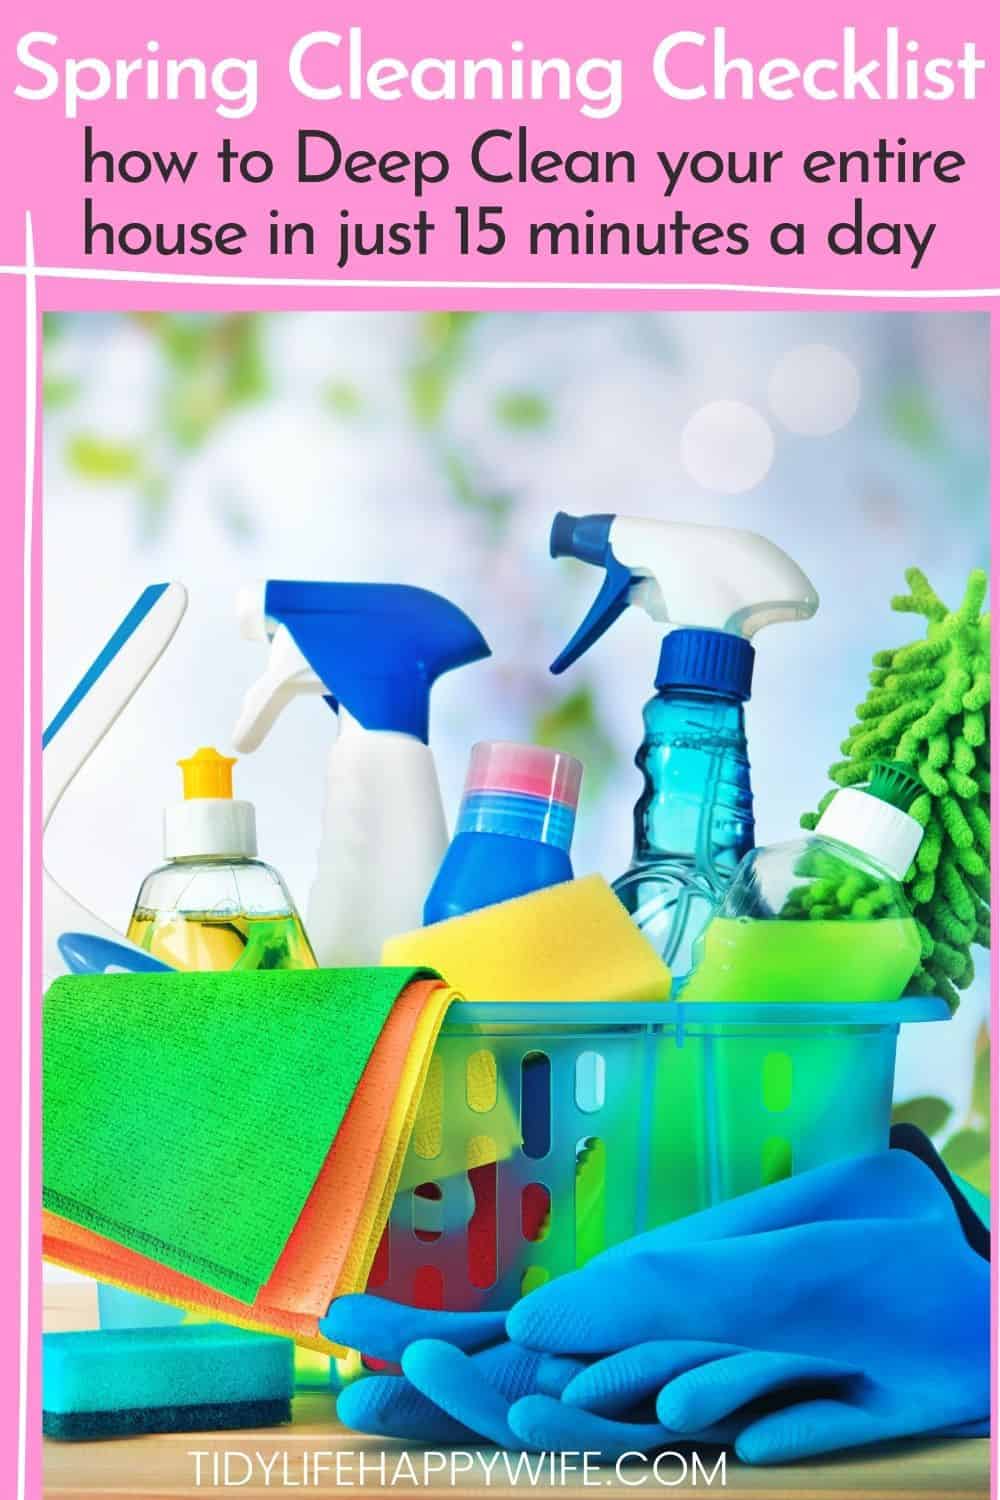
Spring Cleaning Checklist: How to Deep Clean Your Entire Home
The sun is shining, the daffodils are blooming, and . . . “what is that haze on the windows?” Spring has sprung and that haze means it’s time to tackle your spring cleaning checklist!
After a long winter of having your home closed up, the warmer weather and longer days of spring make it the perfect time to clear the dust bunnies and give everything a thorough spring cleaning.
You can finally tackle those tough stains on the carpet and the dusty ceiling fan that’s been driving you crazy. So open up your windows, let in some fresh spring air, and give everything that deep, spring cleaning it deserves.
Is spring cleaning necessary?
Yes, spring cleaning is still necessary. Even though heating and ventilation systems help keep homes much cleaner these days, there are still many places that don’t get cleaned on a regular schedule.
Spring cleaning ensures that every inch of your home is deep cleaned at least once a year.
When should I start spring cleaning?
Spring cleaning traditionally starts during the month of March1. The first day of spring, and National Cleaning Week2 are popular days to get started.
I start spring cleaning as soon as it’s warm enough to open my windows, but you can start any time you like.
This post may contain affiliate links. Please see my disclosure policy for details.
How do you plan a spring cleaning?
One great way to plan your spring cleaning is to hire professional house cleaners from Molly Maids to give your home the Martha Stewart treatment (#dreaming), but that can be expensive.
Another option is to set aside an entire weekend of your valuable time and tackle the daunting task by yourself. Not a great idea, but often necessary.
The way that works best for me is to ask family members for a little help conquering the spring cleaning list together, one 15-minute task at a time.
I tell them my best spring cleaning tips, then turn them loose on some simple tasks in different areas of the home while I tackle the tougher ones.
What is included in a spring cleaning?
Spring cleaning is a series of deep cleaning tasks that give everything a good scrubbing throughout your entire home. It’s a top-to-bottom cleaning to-do list for every nook, cranny, and surface in your home.
Conquer Your Spring Cleaning Checklist
This spring cleaning checklist is organized in separate sections so you can customize it to fit your schedule and easily assign some areas and tasks to other people.
Each section is designed around 15-minute increments to eliminate some of the overwhelm and give you good stopping points if you’re pulled away.
If you have more than fifteen minutes and finish the area you’re cleaning, keep working through the next section of the list.
Decluttering and organizing are fundamental to a clean home, but they aren’t covered in this checklist.
I recommend a yearly purge in the first few months of the year so you already have a clutter-free home before you tackle the spring cleaning tasks.
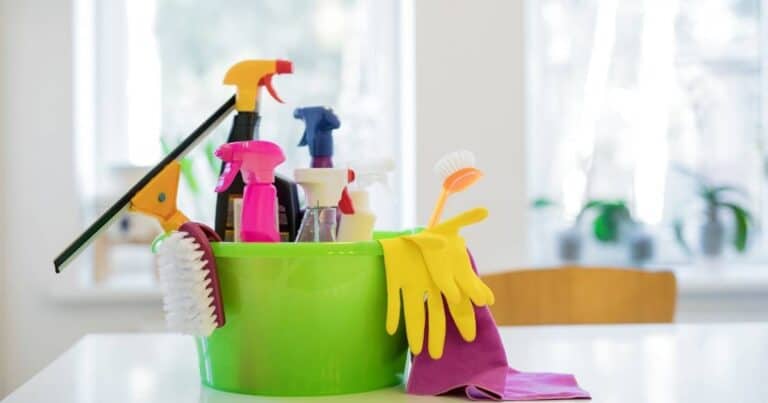
Gather Your Spring Cleaning Supplies
Some sections will require a couple of tools or supplies that won’t be used in the rest of the areas. Those tools will be listed in the applicable sections.
Most areas will require the following supplies.
- Multi-Purpose Cleaner
- When it comes to commercial cleaners, I prefer Mr. Clean. If you’re looking for a natural cleaner, Hydrogen peroxide is a great disinfecting cleaning spray. Just remember to keep it in an opaque spray bottle to protect it from light. It can also be mixed with baking soda for a powerful cleaning solution that makes quick work of most tough messes.
- Glass Cleaner
- There are some great commercial glass cleaners on the market, but they can be expensive. An inexpensive alternative is to mix 2 cups of water with 1/4 cup of white vinegar and add a drop or 2 of dish soap.
- Microfiber Cloths or Clean Towels
- Microfiber cloths are lint-free and recommended for all flat surfaces including glass and metallic finishes. Clean towels can be used for rougher surfaces or really tough messes.
- Microfiber Mop
- I like a microfiber mop for lower ceilings and cleaning walls. The wide, flat surfaces make wall washing go a lot faster than a damp cloth. It can also be used on your hard surface floors.
- Vacuum Cleaner
- A workhorse vacuum with handy attachments will make your spring cleaning a little easier. It’s super helpful when cleaning out drawers and the back corners of those cabinets.
GIVE YOUR HOME A THOROUGH CLEANING!
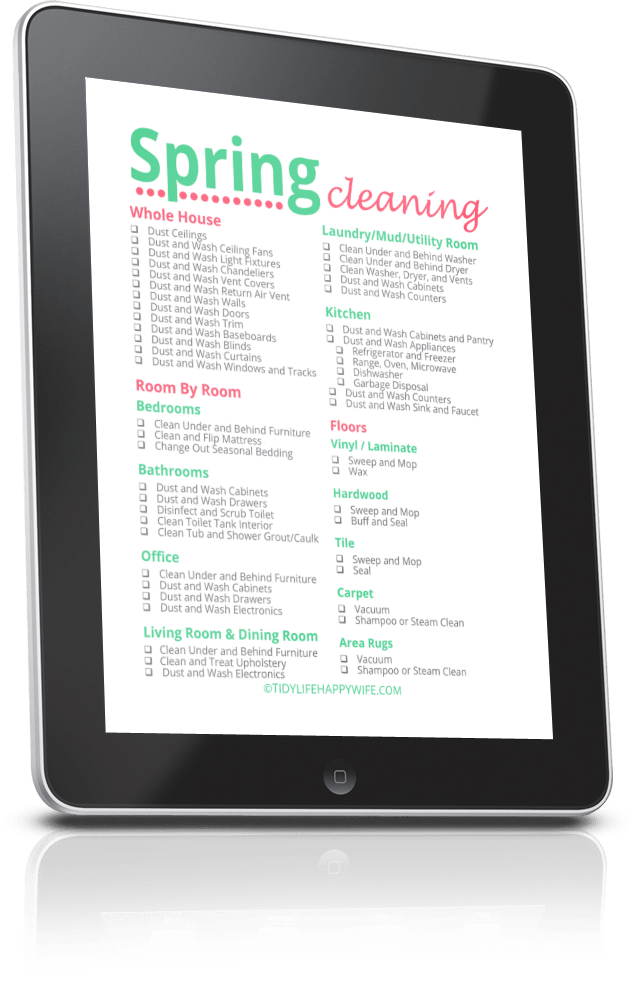
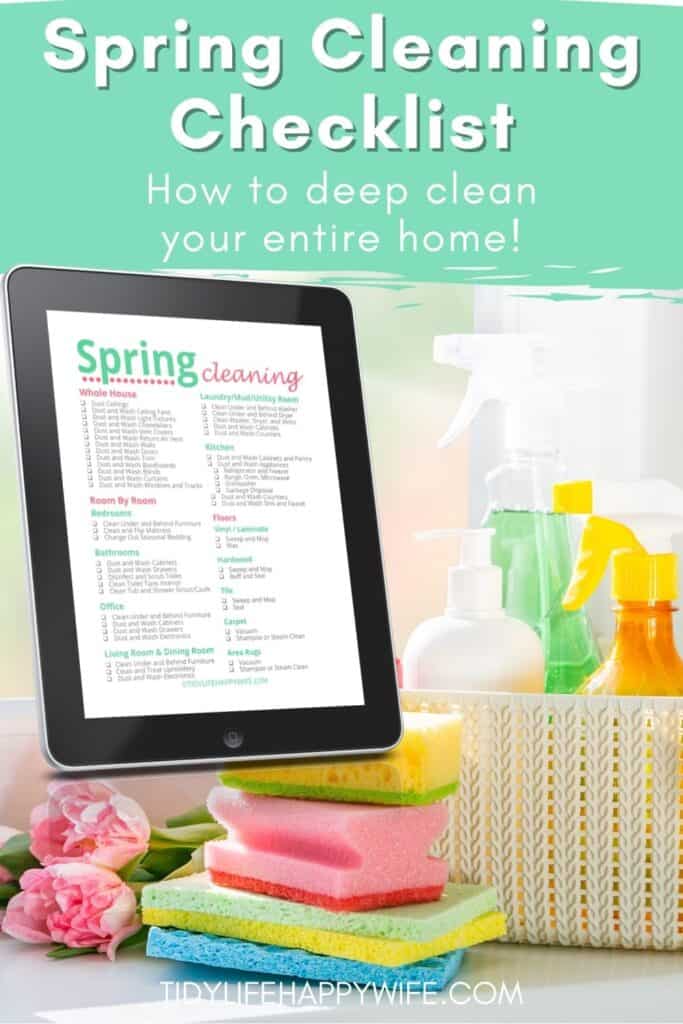
Join thousands of VIPs for cleaning, decluttering, and organizing tips sent straight to your inbox. As a welcome gift, we’ll send you this FREE printable Spring Cleaning Checklist that lists exactly what to deep clean in every room of your home.
Start With the Whole House Spring Cleaning Tasks
The first section of the spring cleaning checklist is the Whole House section. Complete each task of this section throughout the entire house before moving on to the next task.
It’s a good idea to work from one end of the house to the other, and clean in a top-down, side-to-side pattern. This ensures you don’t miss a spot and that you’re not dirtying up areas you just cleaned.
Use your kitchen as spring cleaning central and start in the corner of the house that’s farthest from the kitchen. Kind of like mopping yourself out of a room instead of into a corner.
Before you get started, open those windows and let some fresh spring air in while you’re cleaning the house.
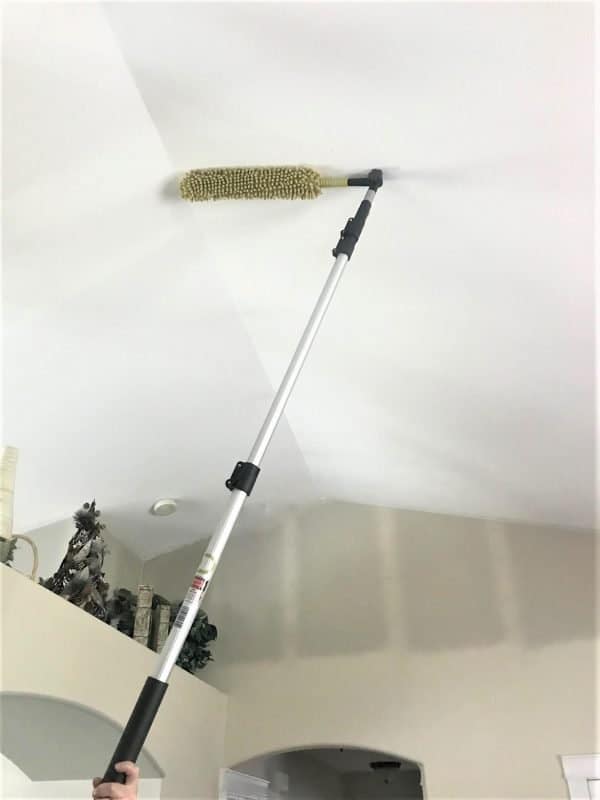
Dust the Ceilings
I always start with dusting the ceilings.
An extendable dusting pole can speed up this task. You could also use an extendable microfiber mop with a dry pad to dust your ceilings.
Sticking to the ‘one end to the other – top-down method’, start with the ceilings in the room farthest from your kitchen.
The ceilings shouldn’t be super dusty, but they’ll definitely have a cobweb or two if they haven’t been cleaned in a while. Cobwebs are hard to see, so dust your entire ceiling even if it doesn’t look like it’s needed.
Dusting the ceilings shouldn’t take more than 15 minutes. Skip this task and you’ll regret it when you have a house full of guests and the sun catches every single cobweb on your ceiling.
Clean the Ceiling Fans, Light Fixtures, & Chandeliers
Once the ceiling is clean, remove all light fixture covers and shades. Wash them in soapy water in the kitchen sink, then leave them to dry. I like to use a little Dawn dish soap or MR Clean for this.
While they’re drying, go back through the house and dust off all of the ceiling fans, fixture bases, and chandeliers. If your ceiling fans are super dusty, use some damp paper towels to wipe the dusty mess into a plastic bag from the grocery store.
An extendable cobweb duster works best for dusting the chains on hanging lights and getting all of the edges on recessed lighting.
Wipe off all the light bulbs with a damp microfiber cloth. Microfiber cloths are versatile enough to use for most of your cleaning tasks, and they’re lint-free.
Once you’re done, you can replace the shades and covers.
Bonus Tip: Since you probably already have the step stool out, test your smoke alarms and carbon monoxide alarms to make sure they’re working properly. It’s also a good time to change the batteries.
Dust All Vent Covers
Remove the heating vent covers throughout the house and soak them in soapy water. While they’re soaking, dust or vacuum the return air vent and any other vents located in the walls or ceiling.
Return air vent covers are a pain to take down, but if yours is really grimy, take it down and soak it with the rest of the vent covers. Otherwise, a good dusting and swipe with a damp microfiber cloth should be sufficient.
Dry and replace all vent covers.
Wash the Walls
Starting at one end of the house dust all of the walls, then go back through and wash them.
A microfiber mop works well for this task. Start with a dry mop for the dusting, then dip it in your soapy water, wring it out, and go back through washing all of the walls.
If there is any tough grime or resistant smudges, try cleaning with a Magic Eraser.
Dust and Wipe Doors & Trim & Baseboards
Use a duster or microfiber cloth for the doors and trim throughout the house, then dust all baseboards using a microfiber cloth wrapped over your broom
Scrub the doors and trim work using a soapy microfiber cloth and a magic eraser. Pay special attention to the area surrounding the door handles. This area will be the dirtiest.
For washing the baseboards, wet the microfiber cloth and wrap it back around the broom. Remove any stubborn spots by hand.
Clean Blinds and Curtains
Remove curtains and throw them in the wash or take them to the dry cleaner. Dust off the curtain rods.
Dust the blinds using a microfiber blind cleaner. Wash each slat with a soapy microfiber cloth, then wipe with a clean dry microfiber cloth to keep any dust in the air from settling back on damp slats.
When you’re done, open the blinds and pull them up to the top so they’re out of the way when you clean the windows.
Wash Windows
Open the windows and clean the window tracks with a cheap paintbrush, some soapy water, and some canned air. Use a magic eraser for any tough smudges.
While the window is open, wipe the bottom side with a wet, soapy microfiber cloth.
Close the window and clean the outside of the frame, then wash and dry the window.
Warning – if you haven’t cleaned your window tracks in a while, or ever, this task is probably going to take longer than 15 minutes.

Spring Cleaning the Bedroom
You probably deep clean your bedroom more than once a year, but here are some tasks that you can save for the annual spring cleaning if you like.
Clean Behind and Under All Furniture
Move each furniture piece completely out of the way. Wipe down the wall and any baseboards or trim that’s normally concealed by the piece of furniture.
Clean the floor area that the furniture usually covers. Since the area is usually covered, a good sweep or vacuuming should be sufficient.
Depending on how much space you have, you might need to do this one furniture piece at a time.
Deep Clean the Furniture
Start by vacuuming the underside, then wipe down the backside of each furniture piece. Those dark and mostly undisturbed areas are a cobweb, dust, and pet hair mecca.
If possible, wipe off the bottom of the furniture feet. If the furniture gets moved or slid around at all, it’s likely to pick up and hang on to some dusty gunk from the flooring.
Vacuum or wash every nook, cranny, and flat surface of each piece of furniture.
Vacuum and wipe down the interior and exterior of dressers, drawers, shelves, and closets.
Freshen the Bed
Completely strip the bed and remove all of the linens. Sprinkle some baking soda on the mattress and let it sit while you take the linens to the laundry room.
Clean the bottom of the base or box spring as it can get just as dusty as the backside of a dresser.
Flip and rotate your top mattress, and swap out heavy bedding for lighter-weight linens.
Bathroom Spring Cleaning
If you deep clean your bathroom on a regular basis, you can probably skip this section, but take a quick look to see if there are any areas you aren’t covering during your regular cleaning.
Cabinets
Dust the tops of the cabinets. Vacuum or wipe out the insides of all cabinets, drawers, and closets. Clean the cabinet exteriors and knobs.
Sinks
Clean the faucets, sink bowls, and drains. Don’t forget the overflow hole.
Toilet
Disinfect and scrub all the nooks and crannies around the toilet seat and the bottom of the toilet base.
Scrub the toilet bowl and the siphon holes around the upper edge.
Pour a cup of vinegar into the toilet tank and let it sit for an hour, then scrub and flush. This should take care of the grimy discoloration on the inside surfaces.
Tub & Shower
Clean the showerhead, tub faucet, and fixtures. Scrub, inspect, and treat all grout and caulking.
Here are some ways to clean the hard water stains off of glass shower doors.
Deep Clean the Home Office
Dust the tops of the cabinets. Wipe out the insides of all cabinets and drawers. Wipe down bookshelves.
Dust and clean all electronics.
Spring Clean the Living Room and Dining Room
Wipe out the interior of any drawers and shelving. Clean under any removable cushions, then clean and treat any leather or upholstery.
Move and clean behind and underneath all furniture pieces, especially entertainment centers. The combination of heat and electricity makes electronic areas natural dust magnets.
Deep Cleaning the Laundry Room, Utility Room, and Mudroom
Washer and Dryer
Pull the washer and dryer away from the wall and clean behind and underneath both of them.
Clean out the interior of the washing machine. Scrub the door seal, then wipe down the exterior.
Wipe out the dryer, wash the lint trap, and vacuum out the dryer exhaust hose. Wipe down the exterior of the dryer.
Push both appliances back into place.
All The Rest
Dust the tops of the cabinets. Wipe out the insides of all cabinets and drawers. Clean out any closet spaces or cubbies.
Clean the sink and any countertops.
Kitchen Deep Cleaning
Cabinets and Pantry
Dust the tops of the cabinets. Wipe out the insides of all cabinets, drawers, and pantry with a soapy microfiber cloth.
Clean the cabinet exteriors and knobs.
Dust underneath the cabinets and wipe off any under cabinet lighting.
Appliances
You can’t get all of the appliances cleaned in fifteen minutes so each appliance is listed separately
Refrigerator and Freezer
Defrost the freezer and clean the ice maker, shelves, and drawers.
Pull the refrigerator out and clean the walls and floor behind it. Vacuum the coils on the back of the refrigerator. Clean out the drip pan underneath.
Disinfect all shelves and drawers. Wipe down the exterior and handle, then push back into place.
Want a little more detail, check out this article on deep cleaning your fridge.
Range
Clean the vent hood and soak the screens in some soapy water.
Remove the stove knobs and soak them in soapy water. Clean the stovetop.
Wash and rinse the vent screens and knobs, then leave them to dry.
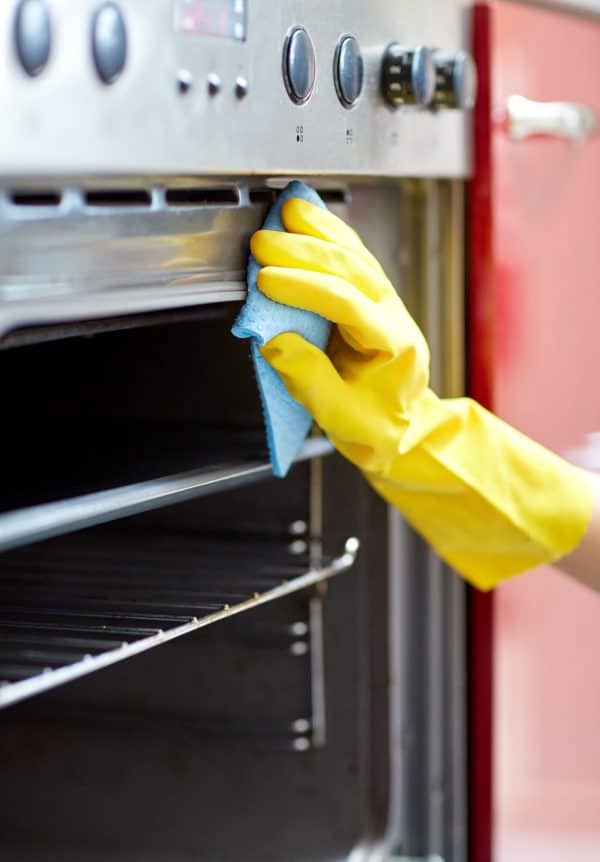
Scrape the crusty bits out of the oven. Wipe down the interior and racks. Clean the oven door and the handle. If yours is really dirty, you can see how I deep clean my oven.
Pull the oven out and clean the walls and floor underneath. Wipe down the exterior of the oven.
Replace the vent screens and knobs and push the range back into place
Microwave
Remove the turntable and soak in some soapy water.
Clean the interior walls and door. Wipe down the front and handle.
Wash, dry, and replace the turntable.
Dishwasher
Wipe down the interior of the dishwasher with soapy hot water. Clean any scale buildup off of the spray arm and clean out clogged holes with a toothpick.
Remove the filter. Wash it with hot soapy water. Wipe out the filter cavity with hot soapy water.
Spray filter, cavity, and spray arm with hydrogen peroxide before reinstalling. Run empty cycle to rinse everything clean.
If you’re plagued by a slow drain or standing water in your dishwasher, here are some great ways to clear a clogged dishwasher.
Garbage Disposal, Sink and Faucet
Clean out the garbage disposal. Scrub the underside of the splash guard. Clean the sink and drain.
Scrub the mineral deposits off of the sink faucet, including the filter on the nozzle.
Counter Tops
Clean and seal the counters.
Spring Clean the Floors
The final section of the spring cleaning checklist is Floors.
Floors could actually fit into either of the previous sections depending on the types of flooring you have throughout your house.
If your flooring type varies throughout the house, it makes more sense to add it as the last task for each room in the Room By Room section.
On the flip side, if your flooring is primarily the same type, it might be quicker and easier to do all of the flooring at once.
Regardless of the type of flooring, add it to whichever section works best for you.
Vinyl or Laminate
Sweep, vacuum, or dust mop all flooring paying special attention to corners and the toe kick areas of cabinetry.
Mop all flooring and use a Magic Eraser to remove scuff marks and stubborn stains.
Wax flooring as applicable.
Hardwood
Sweep, vacuum, or dust mop all flooring paying special attention to corners and the toe kick areas of cabinetry.
Mop with a barely damp microfiber mop or specialized hardwood floor cleaner.
Wax, buff, or polish floors as applicable.
Tile Flooring
Sweep, vacuum, or dust mop all flooring paying special attention to corners and the toe kick areas of cabinetry.
Mop floors and clean grout. This might take longer than fifteen minutes depending on how dirty your grout is.
Let the floors dry, then treat or seal all tiles and grout
Wall To Wall Carpet
Thoroughly vacuum all carpets.
Shampoo or steam clean carpets and let dry.
Area Rugs
Vacuum and clean area rugs.
You can shampoo or steam clean them with the rest of the carpets, you can send them to the cleaners, or you can hang them on the clothesline like grandma did and wash them with the garden hose.
That’s it!
Spring Cleaning Checklist Complete
If you love having a freshly cleaned home, but hate cleaning, this spring cleaning checklist will help you get through it with your sanity.
While it isn’t quite your grandma’s spring cleaning checklist, it does cover all of the cleaning tasks that aren’t part of your weekly cleaning routine and can be done less often.
The checklist is laid out in a specific order consisting of the ‘whole house’ tasks first, then the room-by-room tasks. Each section is broken down into fifteen-minute tasks that you can easily fit into your normal day.
Start at the top of the list and check off each one as completed.
GIVE YOUR HOME A THOROUGH CLEANING!
Join thousands of VIPs for cleaning, decluttering, and organizing tips sent straight to your inbox. As a welcome gift, we’ll send you this FREE printable Spring Cleaning Checklist that lists exactly what to deep clean in every room of your home.
1Spring Cleaning – Wikipedia
2National Cleaning Week – National Day Calendar


How do you get the urine smell out of grout and tile floors.
Uh-Oh. That stinks. Sorry:(
Since grout is so porous, I would suggest soaking with hydrogen peroxide for about 10 minutes, then scrub with a good grout brush, wipe clean and let dry.
Once dry, soak with a good enzymatic cleaner and let that dry. I prefer the Oxy Cleaner from Nature’s Miracle. It has an orange scent and isn’t as stinky as the regular formula.
When you’re satisfied that the smell is gone, reseal your grout and tile with some 511 Impregnator.
This is a great list! Thanks for putting this together.
Thanks Iris! I’m happy you like it. I hope it’s helpful but not too overwhelming.
What a great reminder of what I must clean. I better get to it!!
Thank you!!!
15 minutes a day and you’ll be through it in no time😀