The 5 Simple Steps That Help You Effectively Organize Any Space
Does the word ‘organize’ make you anxious and irritable? Does looking at a cluttered, chaotic mess leave you feeling hopeless and defeated? What if I could give you 5 simple steps to organize any space?
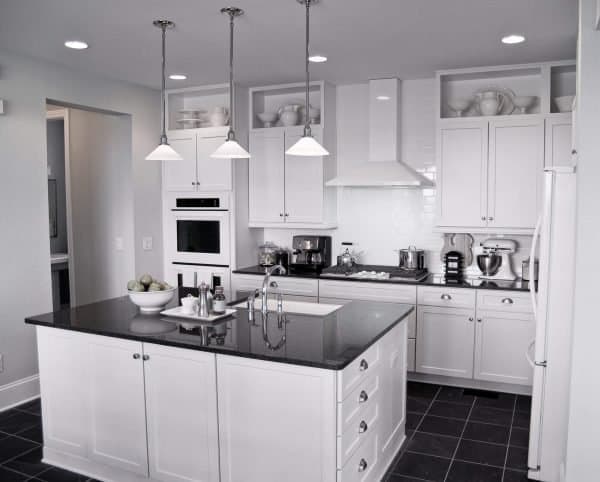
When you think of organized spaces, you picture images from Pinterest and Martha Stewart. Beautifully labeled, matchy containers and evenly spaced, color-coordinated closets. Picture after picture of beautiful, immaculately organized rooms.
You sigh thinking you’ll never be that organized because your spaces are too small, you have too much stuff, and you can’t afford the pretty containers.
Add to that the 50 hour work weeks with weekend overtime and the household chores. No wonder you can’t see how you’re ever going to organize any space let alone every room in your home.
You Can Do This
Don’t give up hope just yet. If I can do it, you can too!
I prefer a clean and organized home but I haven’t always been able to keep it that way. As you know, Life Happens.
We get so busy in our daily lives that we let things go. The clutter creeps in and so does all the dust.
My office was the worst. It became the dumping ground for every item that didn’t have a home of its own.
The day I had to move a stack of blankets out of my way to get to the window was the final straw. It wasn’t a hoarder level mess, but it was certainly a new level for me and I didn’t like it.
I needed to get it cleaned out and organized, but I didn’t have the time or space to empty the entire room and start fresh. I needed a plan that allowed me to take it one bite-size piece at a time.
With these five simple steps I was able to organize every room in my home, and you can organize any space too. You’ve got this!
This post may contain affiliate links. Please see my disclosure policy for details.
5 Steps To Organize Any Space
There are many different approaches to organizing. This one makes it possible to organize an entire room or just a space within that room.
Use these steps in the following order and you’re on your way to easily organize any space.
- Pick a Space
- Make a List of the Problems
- Brainstorm Solutions
- Make a Plan
- Get it Done
You’re thinking ‘Nice Tanya, but how and what do I do for each step? Stay with me, I’ll give you all the details.
1. Pick a Space or Room to Organize
The first step in organizing is to pick a space.
Depending on the time you have available, that space can be an entire room or just a section of that room. It’s entirely up to you.
There is no secret formula, no right or wrong answer. I’m not going to jump out from behind a piece of furniture and shout “Wrong answer – try again”. I promise.
Starting with one space allows you to break organizing into smaller, more manageable tasks. These smaller tasks are easier to fit into your busy day without completely disrupting your entire schedule.
If you get home from work 15 minutes before the rest of the family, you can use that 15 minutes to do whatever you need to without any distractions. You’ll be amazed at what you can actually accomplish in that little bit of time.
Where Should I Start?
Still stumped and don’t know which space to start with? Are you looking for a little help?
Figure out what made you decide it was time to get organized. What was your final breaking point or trigger?
Was it the frustration of a cluttered counter and no room to set anything down? Maybe the shoe pile you tripped over when answering the door or the embarrassment of moving a pile of clean clothes so your friend could sit down?
Whatever it was, it brought you to this point.
The specific triggering event doesn’t really matter in the grand scheme of things, but picking a space and getting started does. Use the trigger as a tool to help you find that starting point.
Perfect! You picked your space, so now what? You can download the Organize My Space Worksheet below to help you out.
AVOID THE COMMON DECLUTTERING MISTAKES OTHERS MAKE!
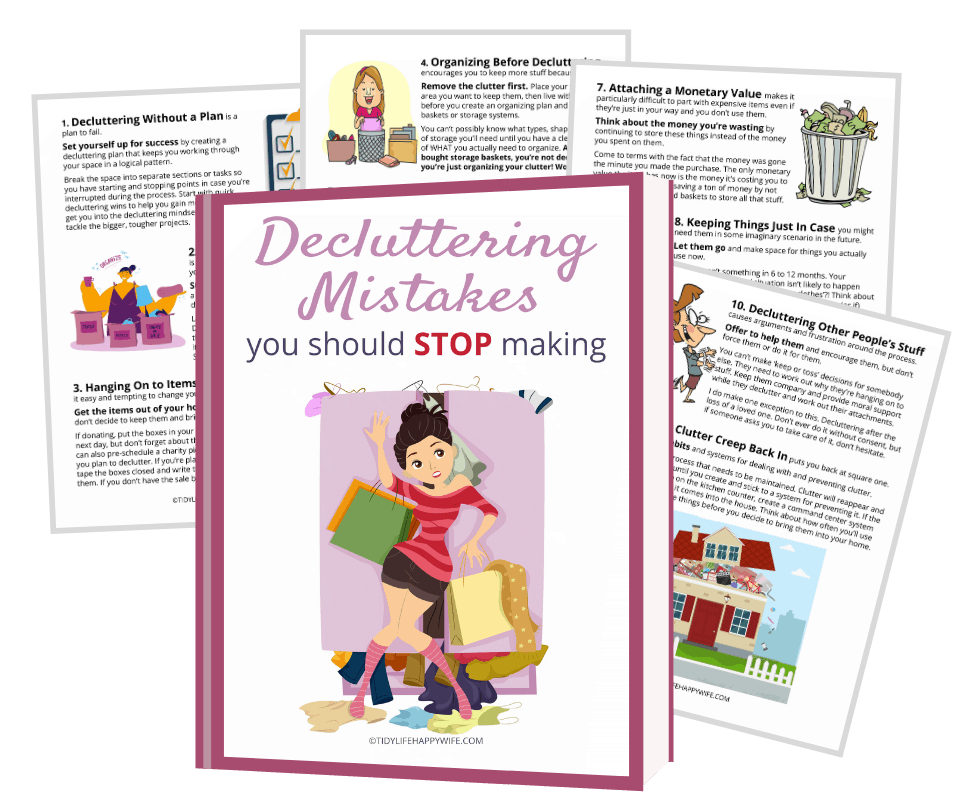
Join thousands of VIPs for cleaning, decluttering, and organizing tips sent straight to your inbox. As a welcome gift, we’ll send you this FREE printable Decluttering Mistakes Guide that tells you exactly what NOT to do when decluttering.
2. Make a List of the Problems
Yeah, I know. A list – really? Yes, REALLY, and you’re not going to lose this one or leave it sitting on the counter with another stack of papers. You’re going to use it to identify all of the problems in your space.
We’ll call it the Problem List.
Start by standing at the entrance to the space you have chosen and look around. Write down what doesn’t belong, what’s in the way, and what isn’t working. Leave a couple of lines between each entry for later use.
Move through your space like you normally would, but take the time to really think about the issues. Continue making notes on your list and don’t leave anything out.
If your dream vision includes moving a wall to gain 3 more feet but you know that’s not going to happen, write it down anyway. Maybe there is an organizing trick or a different furniture arrangement that will make your space feel like it has those extra 3 feet.
Figuring It Out
Feeling a little stuck or still staring around thinking ‘what now?’, try asking yourself these questions.
- What doesn’t belong?
- What am I always tripping on or knocking over?
- Which areas tend to pile up and become cluttered?
- Why do things tend to pile up in this spot?
- What else about this space doesn’t work for me?
- How do I really want this space to function?
- What would make this space perfect?
Write each answer down. When you finish your list of the things you want to fix or change, it’s time to sit down and plan out your solutions.
3. Brainstorm Organization Solutions
Feeling overwhelmed? Take a breath and relax, this is the fun part. Grab yourself a cup of coffee (or a glass of wine – I won’t judge) and put on your thinking cap.
This is where those extra lines in your list come into play.
Using your Problem List, jot down as many possible solutions as you can come up with for each item. Some solutions will be quick and simple, and some will be more complicated and take longer to accomplish.
Simple Solutions
Simple solutions are the ones that immediately fix a problem. These will be quick accomplishments and will provide you with instant gratification. They will most likely include a lot of decluttering tasks.
Putting the pile of shoes away is a simple solution and one that you can quickly check off of your list. Creating an organized convenient area to keep shoes out of the way is a permanent fix.
It provides a permanent solution to your problem and will most likely take more planning and time to accomplish. It may even require a trip to Target or the local home improvement store for a shoe rack.
Don’t worry too much about those details right now, just get all of your ideas written down. When you finish brainstorming solutions, draw a circle around the quick simple ones and a rectangle around the more complicated ones.
If you get stuck, hop on Pinterest for a bit of inspiration. See, I told you this was the fun part. Coffee (or wine – still not judging) and time on Pinterest, doesn’t that sound like fun to you?
Be careful though, you need to stay on task. You are brainstorming organization ideas, not planning your next dream vacation.
Once you’re done brainstorming it’s time to create your plan.
4. Make a Plan
Your plan will consist of your final to-do lists. Break it into 2 different lists.
The Simple Solutions list that quickly gets your space cleared out and cleaned up, and the Permanent Fix list that prevents the problem from happening again
Go back to your problem list and look at the solutions that you circled. Pick one circled solution for each problem and write it down on your Simple Solution list.
Similarly, you can go back and do the same for the solutions you drew a rectangle around and write each one down on your Permanent Fix list.
Remember when I mentioned instant gratification? The sense of accomplishment it gives you acts as a motivator to keep you moving forward. That’s the reason for 2 different lists.
Simple Solutions are your instant gratification.

Short On Time
If you don’t think you have enough time to finish everything on your to-do list in one session, you can use blocks of time to break each list into manageable pieces.
Let’s say you can only set aside 15 minutes each day to work on this space. Break your tasks up in what you think are 15-minute time blocks. If a task takes less time than you thought, you can stop for the day or move on to the next task.
Breaking the project up this way creates a logical timeline for the entire project. It also gives you convenient stopping points in case something else comes up and you need to stop suddenly.
Now that you have a plan, it’s time to get busy.
5. Organize Your Space
This is where the real work begins, so put on some motivating music and get moving. It’s time to break the cycle and get your space organized.
Simple Solutions
Beginning with the Simple Solutions list, work through each task from start to finish. As you complete each task, cross it off your list and move on to the next one.
Since these are mostly decluttering tasks, a garbage can and a couple of baskets might be helpful.
I typically use one large basket for items that need to be put away in a different room, and one large basket or box for items that I plan to sell or donate.
Before putting items in the ‘put away’ basket, think about where they actually belong.
Purge, Purge, Purge
So there it is! I finally said it. You need to purge, declutter, simplify, whatever you want to call it.
I didn’t want to scare you off, but it really is an essential step to organize any space. Need some additional help with decluttering? Here are some related posts to help you out.
Think of it this way, either the things you have are important enough to have their own designated spaces, or they aren’t important enough to have.
If you can’t find a space where these things belong, but you just can’t bring yourself to get rid of them, put them in a storage bin and write the date on it. Revisit the bin 6 months from now and see if you still feel the same.
After you finish the Simple Solutions list, take another look at the space and review your Permanent Fix list.
Permanent Fixes
Seeing the space without all of the clutter might give you better or different ideas for your long-term fixes. If you are still good with your original plan, get back to work.
Your permanent solutions will likely require a bit more time and some additional storage. Make sure you stick to your plan and be mindful of your 15-minute time blocks.
Once you are finished with both lists, you should have an organized space. In order to keep it that way, you should work on developing new habits and routines to avoid the clutter buildup.
Final Thoughts
Life happens and when it does your normal schedules and routines can get out of whack or go completely by the wayside.
Organizing a home that has turned into chaos can seem like an overwhelming task but it doesn’t have to be. Take a systematic approach to conquering the chaos and follow the logical steps to organize any space.
Start by picking your space or room and making a list of the problems you encounter in that space.
Brainstorm some simple quick fixes and some permanent fixes for each problem.
Create a plan of attack and break it into manageable chunks, then get it done.
Using these five simple steps, I am certain you can break it into manageable pieces and organize any space without disrupting your entire life. You’ve got this!
Tell me your thoughts and share your transformations in the comments.
Tell me your thoughts and share your transformations in the comments.