13 Ways to Declutter Your Kitchen and Gain Valuable Space
Cluttered kitchen driving you crazy? Jam packed cabinets and drawers stressing your out. Here are 13 ways to declutter your kitchen and take back your space.
The kitchen is the heart of the home, the central operating hub for your entire family. On top of that, it often does double duty as an office, classroom, dining room, and so much more.
With all of the hustle and bustle, the kitchen quickly turns into a dumping ground for tons of random stuff. In fact, the entire space can turn into a cluttered mess and major source of stress before you even realize it.
When you do notice it, it’s time for some decluttering.
This post may contain affiliate links. Please see my disclosure policy for details.
How To Declutter Your Kitchen
Decluttering your kitchen can be an overwhelming task. Especially if there is a lot of visual clutter that’s adding to your stress.
Start with the high impact tasks so you can see some quick progress and be motivated to continue.
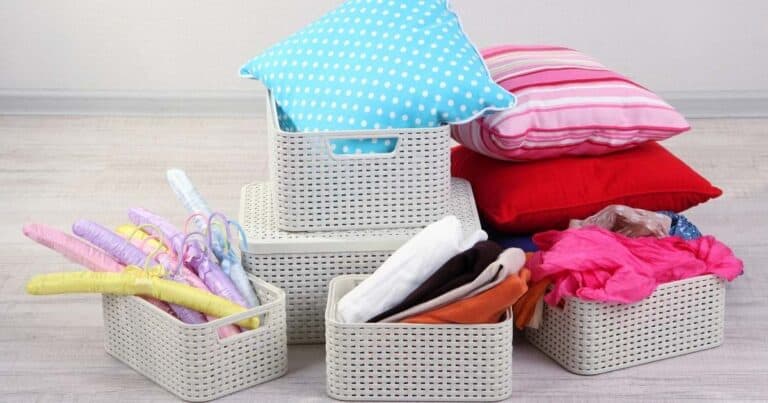
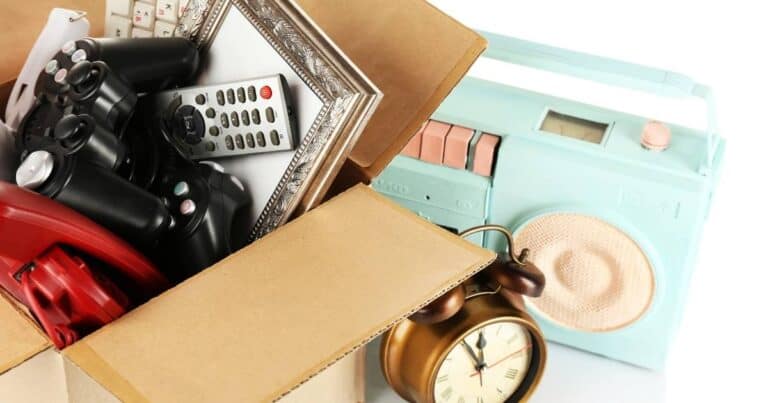
Grab a garbage bag for obvious trash items, a large basket for items that belong in another room, and a box for items that are going to be sold or donated.
Word of caution, planning to sell your things and actually doing it are two very different things. If you aren’t planning on selling them very soon, just donate them. The quicker you part with them, the less likely they are to creep back in your house.
Now back to decluttering your kitchen, if you only have short blocks of time to declutter your kitchen each day, concentrate on one section at a time and work your way through the list. The order below is designed to get the most frustrating areas out of the way first.
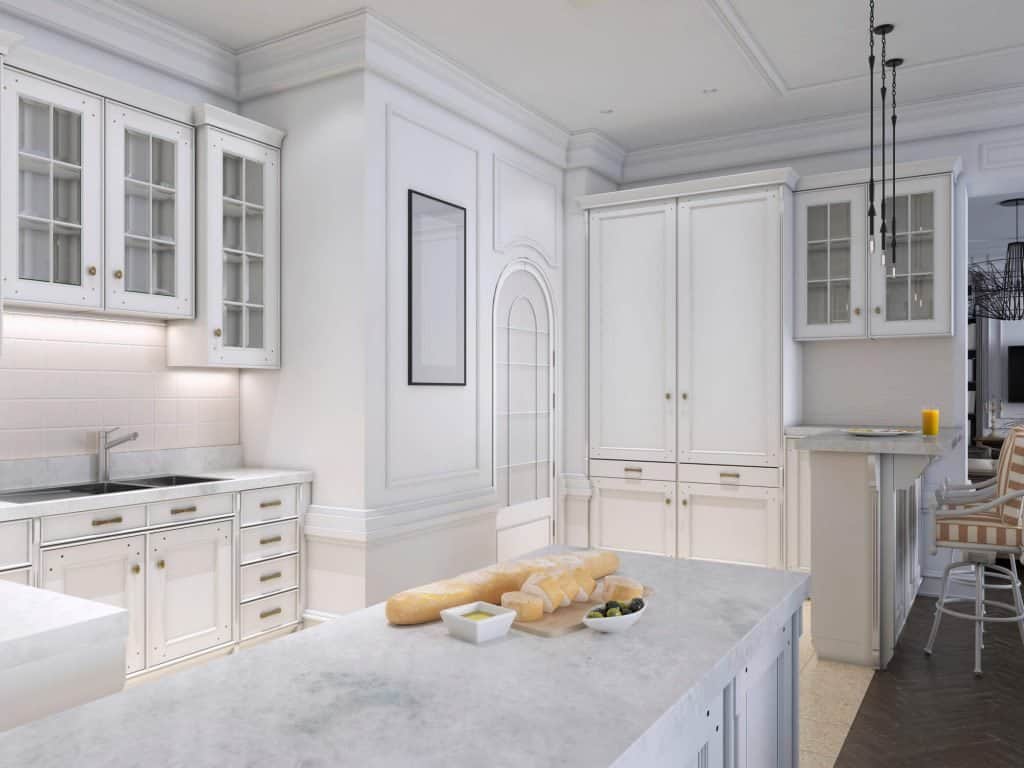
1. Clear Your Countertops
The kitchen countertops are the biggest and fastest clutter collectors in most homes. I mean seriously, it’s this big flat surface conveniently located in the one room most people head to when they walk in the door.
They don’t pay any attention to what’s already there as long as there’s room to set their stuff down.
Between the coffee pot, coffee grinder, and toaster, there’s already a lot going on. Add any other small appliances you use on a regular basis and you’re short on space before you even get started.
Countertops are actually pretty quick and easy to declutter because most of the stuff belongs in one of the cabinets, another room or the garbage.
Start by clearing as much as you can off of the countertops. Throw out junk mail and old receipts. Move other items to the rooms they actually belong in.
If there are any small appliances that you don’t use on a regular basis, get them off the counter. Store them in the pantry, garage or somewhere else.
Once you’ve freed up some counter space, you can start on the rest of the kitchen.
100 GUILT-FREE ITEMS YOU CAN DECLUTTER TODAY!
Join thousands of VIPs for cleaning, decluttering, and organizing tips sent straight to your inbox. As a welcome gift, we’ll send you these FREE printable lists of Over 100 Easy Items You Can Declutter Today!
2. Declutter Your Refrigerator And Freezer
How many times have you been trying to get the pickles out of the back of the refrigerator and knocked jelly on the floor? Thank goodness for plastic bottles right.
Go through your refrigerator. Check all the condiments and sauces for expiration dates, then combine all of the half-empty bottles.
Check all containers of leftovers and toss any that are too old. Most leftovers are only good for two to three days.
Sort through your fruit, vegetable, meat, and cheese drawers. Throw out anything that has seen better days.
Go through your freezer and check each item for freezer burn and expiration dates, then throw out anything that has gone bad.
While you’re here, you might make a note of the food that needs to be used fairly soon. You can use this information for your next meal planning session.
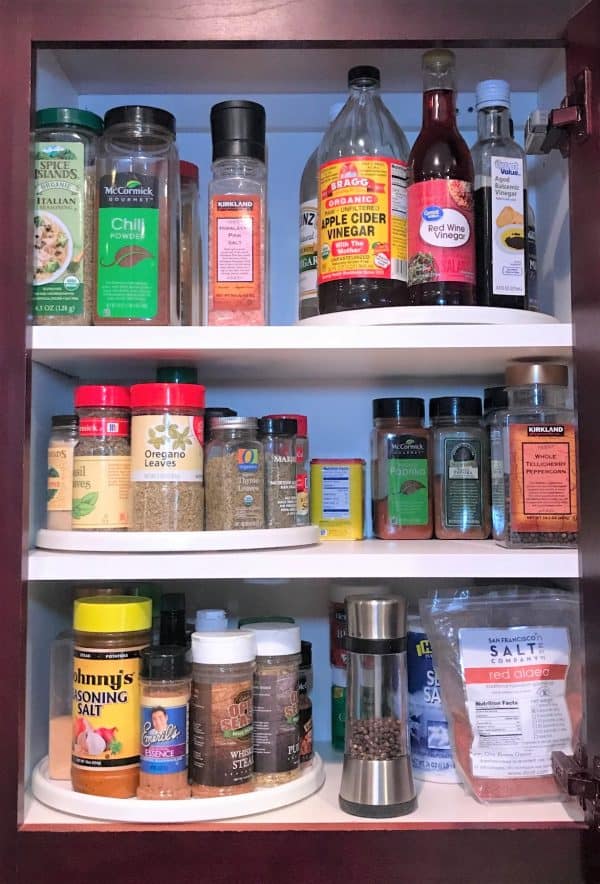
3. Simplify Your Spice Cabinet
The spice cabinet should actually go pretty quickly unless you’re the type of cook that experiments with a lot of new dishes and flavors.
Start by sort through all of your spices and toss any that are past their expiration or you aren’t going to use. Yes, that means throwing out that super expensive jar of saffron that you used once for Seafood Paella five years ago.
Do you have one of those spice racks with all of the different spices in it? I bet you only use a few of them. Most ground spices are only good for two to three years, and that’s if they’re kept in a cool dark cabinet away from heat. I keep mine in the cabinet next to the stove and make sure I turn the exhaust fan on when I’m cooking.
Go through your cooking oils and throw out any that are over a year old. Once open, oils will only last for about a year. After that year, they can darken and turn rancid. Rancid oil can and will completely ruin your entire dish.
If you use flavored kinds of vinegar for cooking, you can relax a bit. Vinegar is acidic which makes it self-preserving. Bottles of vinegar should be good forever although the flavors might change slightly. I’ll let you decide how long to hang on to those.
4. Go Through Your Pantry and Food Cabinets
Pantries and food cabinets can be a black hole of forgotten food. Stuff gets shoved in the back or buried underneath other items. The whole first in first out rule goes by the wayside.
Start by looking for expired items and throw them away. Remove any foods that you probably aren’t going to eat and donate them to a local food bank.
It’s actually shocking how much wasted food you can find by cleaning out your pantry. All of those unopened, but expired bottles of salad dressing, spices, and canned goods just to name a few.
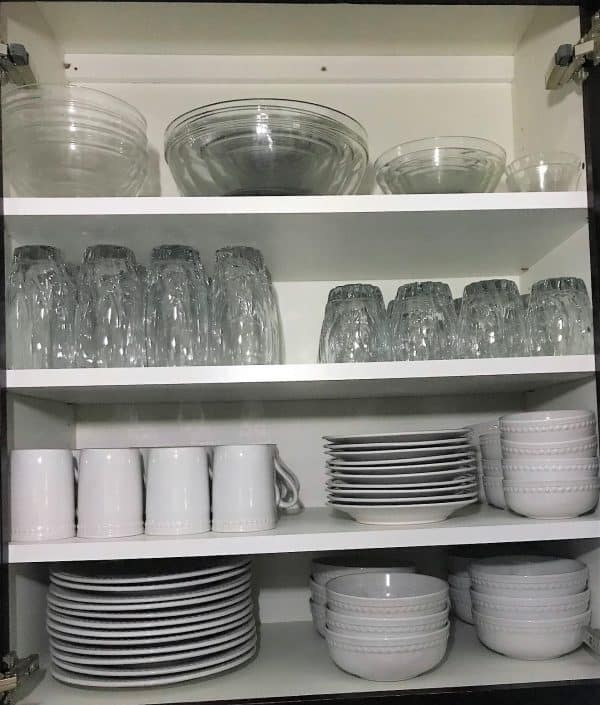
5. Declutter Your Dinnerware
If your home is the one everybody congregates at for family get-togethers, chances are you have several extra place settings for those occasions.
First, go through your dinnerware cabinet and remove any pieces that are damaged or no longer used. Those old stained coffee mugs really need to go.
If you have extra place settings, put them in a tote and keep them in a different space. Only keep what you will use on a regular basis in that cabinet.
6. Sort Your Silverware Drawer
Just like the dinnerware, if you have several extra settings of silverware, store them with your extra dinnerware.
Sort through the rest of the drawer and remove any silverware or other items that don’t actually belong in there.
Remove and get rid of any damaged pieces like that spoon your husband chewed up in the garbage disposal.
7. Declutter Your Utensils
Take everything out of your utensil drawers and place it on the counter. Throw out any damaged or stained pieces.
Now get rid of any duplicates or utensils you don’t use. Do you really need six spatulas and three soup ladles?
This is the one drawer I hate cleaning out. It’s a visual representation of my kitchen gadget obsession. Blatant proof of my husbands’ suspicion that I buy the latest and greatest, but never really use them.
Have you seen that cool avocado tool? I had that and a regular avocado slicer, but when I’m cutting up avocados, I always reach for my favorite knife and a spoon. See, he’s right!
If you don’t use it, get rid of it, it’s just clutter. Donate extra utensils to your local thrift store. Better yet, the next time you think about buying a new gadget, think about the avocado tool before you do.
8. Declutter Your Cookware Cabinet
On to the cookware.
Go through your cookware and throw out any damaged pots or pans. Broken handles scratched Teflon coating, and burnt on food are all good reasons to get rid of a pot or pan.
When you buy pots and pans, do you buy full sets or just the pieces you use regularly?
Instead of buying large sets, try buying just the single pieces of the pans you’ll use. I have a large calphalon set and I’ve only used two of the pots maybe three times each. I use the pans regularly, but I literally could get by with just two of the pots.
9. Declutter Your Bakeware Cabinet
Then there’s the bakeware cabinet. Do you still have the mini loaf bread pan that you used once or the silicone muffin pans that everything sticks to?
Sort through your bakeware and throw out any damaged items. Keep only the ones that you will actually use.
If you rarely bake, you don’t need four different muffin tins, three bread pans, and three pie dishes.
While we’re on the subject, what about all of those cookbooks. Think you might be able to condense your favorite recipes and get rid of a few cookbooks?
10. Declutter Your Food Storage Containers Cabinet
This could be a really big chore depending on how messy your cabinet is and how big your collection is.
Start by checking for any stained or damaged plastic storage containers and throw them away. Once that’s done, match up the remaining lids with the remaining containers to ensure that each container has a lid. Throw away any that don’t.
Much like buying the entire set of pans but only using a couple, do you buy entire sets of food storage containers or just the sizes you need?
If you have food storage containers that you never used, get rid of them.
11. Declutter Your Small Appliances and Gadgets
Am I sounding like a broken record yet? Well, here I go again. If you don’t use it, get rid of it.
Go through all of the cabinets and drawers that you stash your gadgets and small appliances in. Figure out which ones you actually use, and get rid of the rest.
I had a sandwich press for over 10 years. I used it twice. It worked great, but my griddle pan that came with my cookware set was much easier to get to. It was also quicker and easier to clean. Which one would you use?
12. Declutter Your Linen Drawer
If you have a linen drawer in your kitchen, check it now. Kitchen towels, pot holders, oven mitts, and trivets are often out of sight, out of mind until you really need them.
Throw away any pot holders or oven mitts that are burnt or torn. Throw away and dish rags or towels that are stained, tattered, torn, or worn.
Don’t forget to check drawers for broken, damaged or unused trivets.
13. Declutter Your Kitchen Sink Cabinet
This area can really become a cluttered mess. With the cleaning supplies, dish soap, sponges, dishwasher tablets, and rinse aid, you’re already short on room.
Keep only essential supplies under the sink. If there is anything that doesn’t get used in the sink, dishwasher, or for cleaning the kitchen, relocate it or get rid of it.
The last time I decluttered under my sink, I realized my husband doesn’t know where the vases go. You guessed it, they don’t go under the kitchen sink, but there they were!
You Decluttered Your Kitchen, Now What?
Success!!! You did it! By breaking the bigger task into smaller pieces, and working through those smaller pieces one at a time, you managed to declutter your kitchen.
You started with the quick win by clearing the countertop which also gave you a space to work on when decluttering the rest of the kitchen. Now you have the heart of your home back and it’s time to work on the rest. Apply the same system you used here, and you’ll have your entire house decluttered in no time.
Need additional decluttering help, check these related posts:
- 5 Most Common Decluttering Roadblocks
- How To Quickly Declutter Your Living Room
- How To Declutter Your Bathroom
- 14 Places People Forget to Declutter
Let me know how your kitchen declutter goes. I would love to see some before and after pictures.