Efficiently Declutter Your House in Just One Week [Day by Day Plan]
Clutter is one of the leading causes of stress in women. It invades your home, hijacks your thoughts, and compromises your well-being. Here’s a quick fix to declutter your house in one week!
Clutter truly has the power to consume your life and ruin your happiness if you let it. A little dramatic? Maybe, but if you take a moment to really think about it, I suspect you’ll agree with me.
Think about the last time you heard a knock on the door. Did you freeze in fear, scan the room, and start shoving stuff under the couch?
How did that make you feel? Did you have a little knot of fear in your stomach? Clutter is a real problem.
Clutter is a primary contributing factor to a good portion of the stress and anxiety that a lot of women deal with today.
Imagine all of the stress you could let go if you could declutter your house in just one week.

This post may contain affiliate links. Please see my disclosure policy for details.
What Exactly is Clutter?
The New York Times article The Unbearable Heaviness of Clutter quotes Dr. Joseph Ferrari of DePaul University defining clutter as “an overabundance of possessions that collectively create chaotic and disorderly living spaces”.
Sound familiar? That’s ok, no need to worry about it now, you’re going to take a week to declutter your house and conquer that chaos.
Grab the Supplies to Declutter Your House in One Week
Depending on the day, you’re going to need the following supplies to make decluttering easier and faster.
Garbage Bag
Each day you’ll be removing items that are just obvious trash. Having a trash bag available enables you to touch those items once, then take out the whole bag at the end of each day.
Two Baskets
I suggest a two basket system for decluttering.
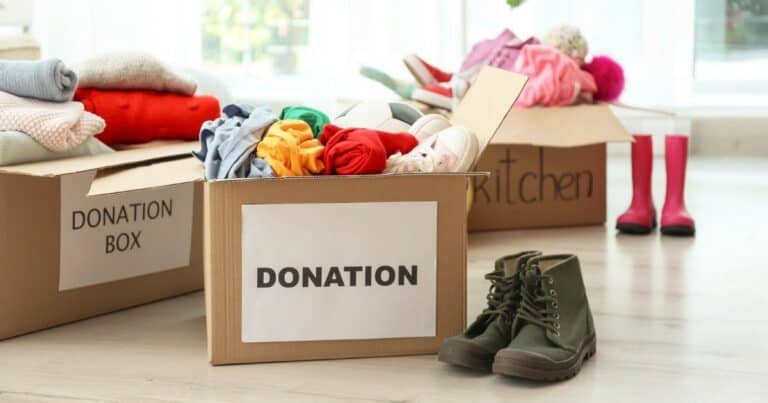
The first basket in my two basket system is for items that you decide to get rid of, but aren’t trash. This would be items you’re passing on to family or friends, selling at a garage sale, or donating.
The second basket is for misplaced items. These are the items that belong in a different room of your house.

I would normally tell you to touch an item only once, but if you take each misplaced item to the room it actually belongs in, decluttering will take you much longer. You’re also likely to get distracted or sidetracked.
Another option is to have additional baskets for each zone or room of your home. That way when you’re done decluttering you just move each basket to where it belongs.
Need some motivating reasons to get rid of extra clutter, here’s an article on what to do with the clutter once you remove it and one on how to make a little money with a garage sale.
Music
Put on some of your favorite tunes and crank them up. Music is a motivator, can help you stay focused on the task at hand, and keep you from thinking about everything else you need to get done.
Coffee
Last but not least, if you’re a coffee drinker, brew yourself a fresh, piping hot pot of coffee. Nothing like a little caffeine to get the decluttering started.
Now that you’re ready to declutter your house, let’s get started.
Start Decluttering Your House
Before you start a decluttering or organizing session, I always suggest taking ‘before’ pictures.
They aren’t a requirement, but they’ll help you realize how much progress you’ve made. They also might help you stay motivated.
They’ll also remind you how bad the dump zones were, where they were located, and what they contained.
I’ll start you off with some quick and easy decluttering tasks to get the ball rolling and get you into the decluttering mood. If you finish all of the day one tasks and don’t want to stop the momentum, go ahead and move on to day two.
The decluttering will get harder and the decisions will become more difficult, so each day may take you a bit longer.
Let’s get this week started and get your house decluttered.
Day 1: Whole House Surface Declutter
Day one to declutter your house in one-week starts by decluttering all visible surfaces throughout your house.
Visible surface clutter is any item that doesn’t belong but is sitting on the floor, countertops, tabletops or any other flat surface you can see while glancing around a room.
The two most common types of clutter you’ll be dealing with on day one are garbage and misplaced items. If there’s a large amount of clutter, tackle day one in two different segments.
Garbage
Begin with the trash segment.
Grab a trash bag and start at one end of your home. I start in my laundry/utility room and work my way through the house to end in my master bedroom.
Proceed through each room while scanning for and throwing away any trash until you’ve moved through your entire home.
Trash should be immediately obvious and shouldn’t take any decision time. If you’re taking time to think about it, move on for now.
Trash can include opened packaging, empty boxes, broken items, empty food containers, stained or torn linens or clothing, and empty toiletry bottles just to name a few.
When you’ve completed the last room of the house, tie off the bag and immediately put it in the trash can outside.
Misplaced Items
Now grab your basket and walk through the rooms again. This time, you’re removing the items that actually belong in a different room.
Just concentrate on the obvious surface items, you’ll deal with the stuff on shelves and tucked in drawers and cabinets on a different day.
As you’re working through each room, drop off the items you’ve accumulated in your basket from another room. For example, if you picked up your daughter’s sweater off of the kitchen stool, drop it off while you’re decluttering her room.
Do NOT backtrack. If you already decluttered the kitchen but picked up a dirty plate (or ten) from your teenage son’s room, do not go back to the kitchen yet. Put the plates in the basket and keep moving through the house.
If those plates are really nasty and you just need to deal with them, go ahead and take them to the kitchen, but stay on track and avoid any other distractions.
Once you finish decluttering the final room, walk back through the house and drop off any items that belong in a different room.
The easy part is done. On day two, you’ll actually start making tougher decisions about items you no longer want or need.
Before you get started, grab our free downloadable Things to Declutter list below to give you some ideas.
100 GUILT-FREE ITEMS YOU CAN DECLUTTER TODAY!
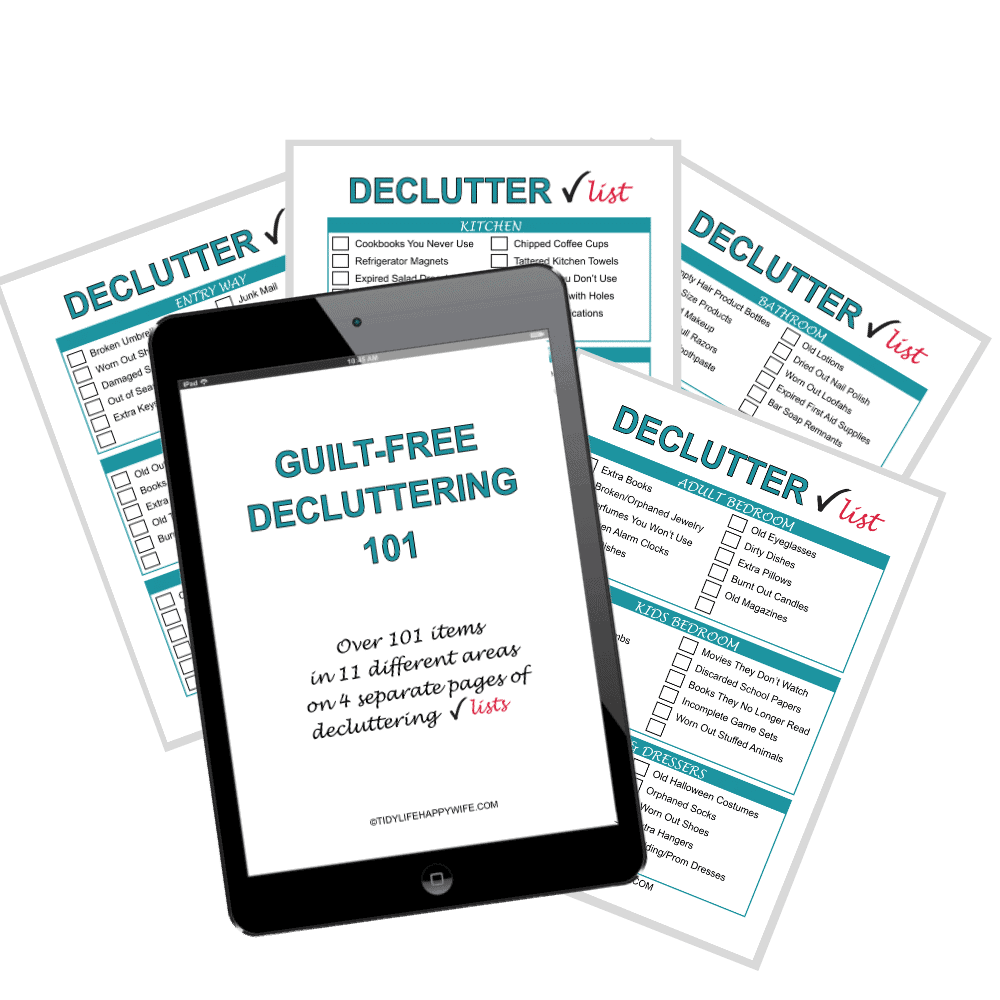
Join thousands of VIPs for cleaning, decluttering, and organizing tips sent straight to your inbox. As a welcome gift, we’ll send you these FREE printable lists of Over 100 Easy Items You Can Declutter Today!
Day 2: Main Living Areas
On day two, tackle your main living areas which include the living room, family room, dining room, rec room, etc. Basically any room the family gathers in other than the kitchen.
Just like day one, you’ll need a garbage bag and basket for items that belong in a different room. You’ll also need that second basket for items that you’re going to get rid of. This is where the decision making starts.
Decor
Scan the room and see if there’s anything on the walls that you need or want to get rid of. This could be photos, wall art, shelving, and even window coverings. Place those in the ‘get rid of’ basket.
When you’re done with the walls, move on to the shelving, tabletops, buffets, hutches, accent tables, and entertainment centers. Remove all items that belong in another room or that you’re ready to get rid of.
Keepsakes and Entertainment
Go through your nicknacks, China, DVD’s, video games, and any other miscellaneous items you’ve stashed in those rooms. Get rid of anything that’s damaged or doesn’t belong in that room by placing in the appropriate baskets.
Now go through the remaining items and determine if each one is really something you want to keep in your home. If you’re having trouble deciding, ask yourself the following questions.
- Can I remember the last time I used this?
- If I saw it in the store today, would I buy it?
- Is there somebody else that might need this more since it’s just sitting here collecting dust?
If you’re really struggling and would like a deeper dive into the things you can consider getting rid of in these rooms, here’s a post on Decluttering Your Living Room that gets a little more specific and walks you through that room step by step.
Once you’ve moved through all of the family living spaces, tie off the garbage bag and take it out. Then grab the ‘belongs in a different room’ basket and drop those items off in the room they belong in.
Now for the ‘get rid of’ basket. You’ll need to decide what you’re doing with these items and put them in the appropriate place until then. I keep a couple of baskets in my garage, one for stuff I’m passing on to family or friends, and one for stuff I’m donating to local second-hand stores
Need help, here are some related articles on What to Do with Clutter and how to have a Money Making Garage Sale.
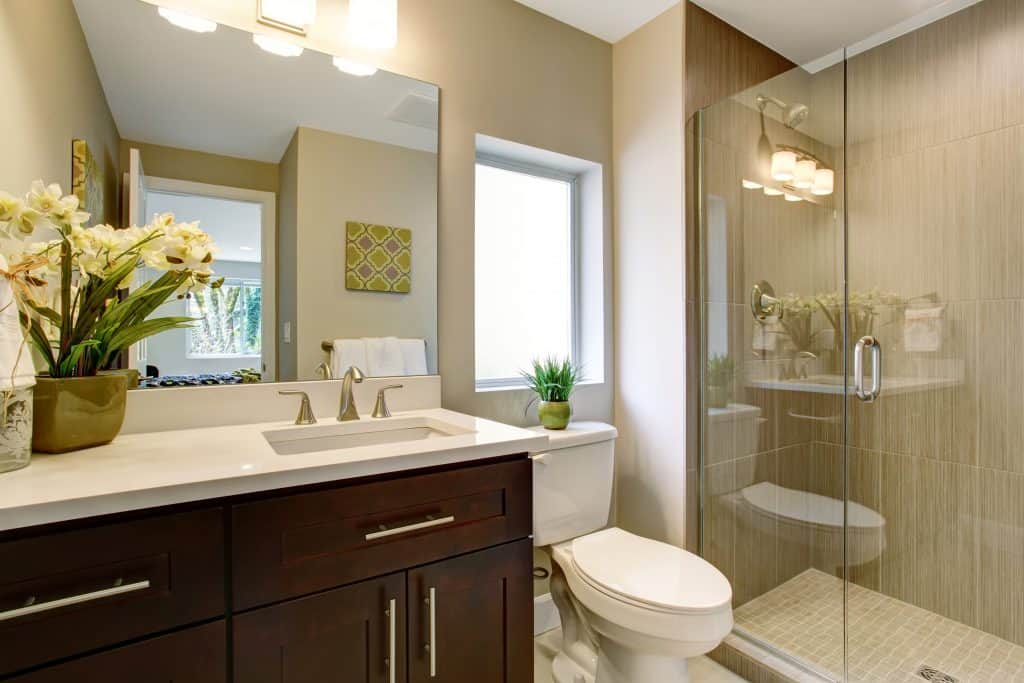
Day 3: Bathrooms, Laundry Room, & Linen Closets
Day three you’ll tackle your bathrooms, laundry room, and linen closets. These areas tend to be catch-all areas, but most of these items are easy to sort.
Decor
Start with the décor items that are out of date or you just don’t like them anymore. These will include pictures, hanging racks, shower curtains, and window coverings.
Toiletries, Linens, Laundry & Cleaning Supplies, etc.
Next move on to any shelving, medicine cabinets, and base cabinets. Throw out expired items and obvious garbage. Remove items that belong in another room.
Go through everything else and decide if there is anything you can get rid of.
Pull out any stained, tattered, or worn-out towels or linens. Depending on the condition, these can be donated to animal shelters if you’re interested.
Sort through your first aid, laundry, and cleaning supplies. Throw away expired items and anything you won’t use.
If you’d like a step by step walkthrough, here’s a post on decluttering the bathroom that does that and gives you more ideas of what to declutter.
Once you’re done decluttering, Throw out your garbage bag, drop off the items that belong in different rooms, and place the items you’re getting rid of in their designated place.
Day 4: Bedrooms & Clothing
Day four is a tough one for a lot of people. The bedroom not so much, but the dressers and closets can be emotionally, mentally, and physically exhausting.
I suggest you quickly work through the bedroom before moving on to the drawers and closets.

Decor & Miscellaneous
Look around for any decor items you no longer want and place them in the appropriate basket. This includes pictures, window coverings, pillows and throws just to name a few.
Go through your nightstands and remove any garbage or items you can get rid of.
Clothing
Now for the clothing. Starting with your smallest drawer, pull everything out and place it on the bed. Sort through each item and pull out anything you need to throw away or are willing to donate. Put the rest back in the drawer and move on to the next.
When you’re done with all of your drawers, move on to the closets. Again, take everything out of the closet and go through it item by item.
Really sort through these things because we have a tendency to stuff things in the back of our closets that we really should have gotten rid of years ago.
Maybe it’s just me, but the last time I sorted through my closet, I literally got rid of half of my clothes. Some were too big, some were too small, some I never wore because they didn’t fit quite right, and others were styles that my thirty-year-old self was comfortable wearing, but not so much now that I’m a wee bit older.
Try to be really ruthless when decluttering your closet. Only keep the clothing that you really love and wear regularly.
Don’t forget the shoes. At one point, I had about ten pair of sneakers, but only really wore two of them. I ended up donating the other eight pairs, and I never missed them.
When your keeper items are all back where they belong, throw out your trash bag, empty your ‘misplaced items’ basket in the appropriate rooms, and put the ‘get rid of’ items in your designated spot.
Have extra time left, why not deep clean your bedroom?
Day 5: Kitchen
Day five is a tough one for a lot of people because the Kitchen is the hub of their home. It usually serves multiple purposes and is constantly buzzing with action.
Get your garbage bag and baskets ready.
Small Appliances
Start by scanning your countertops and removing any items you don’t really use or that need to be put away. Toasters, blenders, knife blocks, etc. can be stored out of sight when not in use, or sold at a garage sale if you don’t really use them.
Food
Next, go through the refrigerator and remove any expired or old food. Do the same for the freezer and check for freezer burn as well. Move on to the pantry. Throw away expired items, then pull out any foods your family won’t eat and donate them to a local food bank.
Linens, Silverware, Gadgets, etc.
Go through drawers and throw away any torn linens, damaged silverware or serve ware. Check for and eliminate any duplicate items or things you never use.
Purge aggressively when it comes to kitchen gadgets. I’m betting you’ll find a bunch you didn’t even know you had. If that’s the case, just get rid of them.
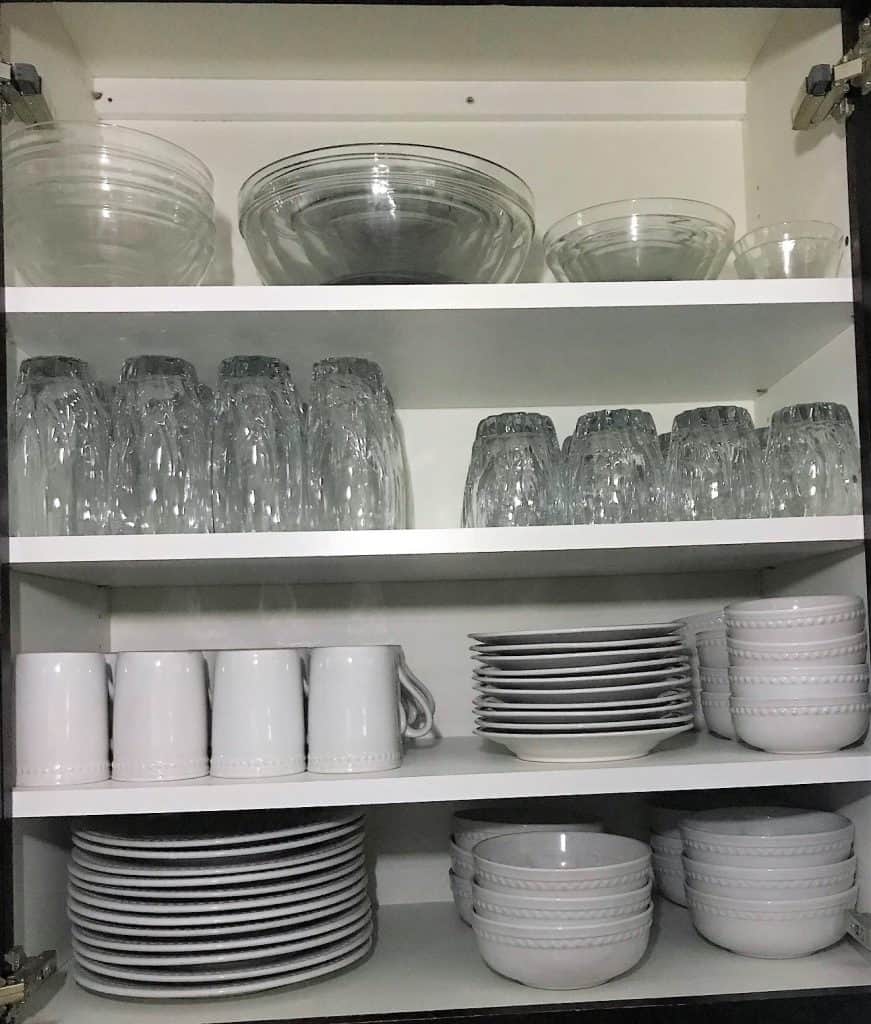
Dishes and Cookware
Move on to your cabinets. Throw away broken or damaged dishes and cookware. Donate any cookware or gadgets that you never use.
Junk Drawer
Once that’s done, get rid of that junk drawer. Don’t argue, I’m not saying you have to throw everything away, just get rid of the junk drawer.
Go through the stuff that’s in it and give those things an actual home. Can’t find something a home anywhere in the house? Then why do you have it? If you can’t find a specific home for something, get rid of it.
If you’re having trouble working through the kitchen and identifying things to get rid of, here’s a step by step kitchen decluttering plan you can follow.
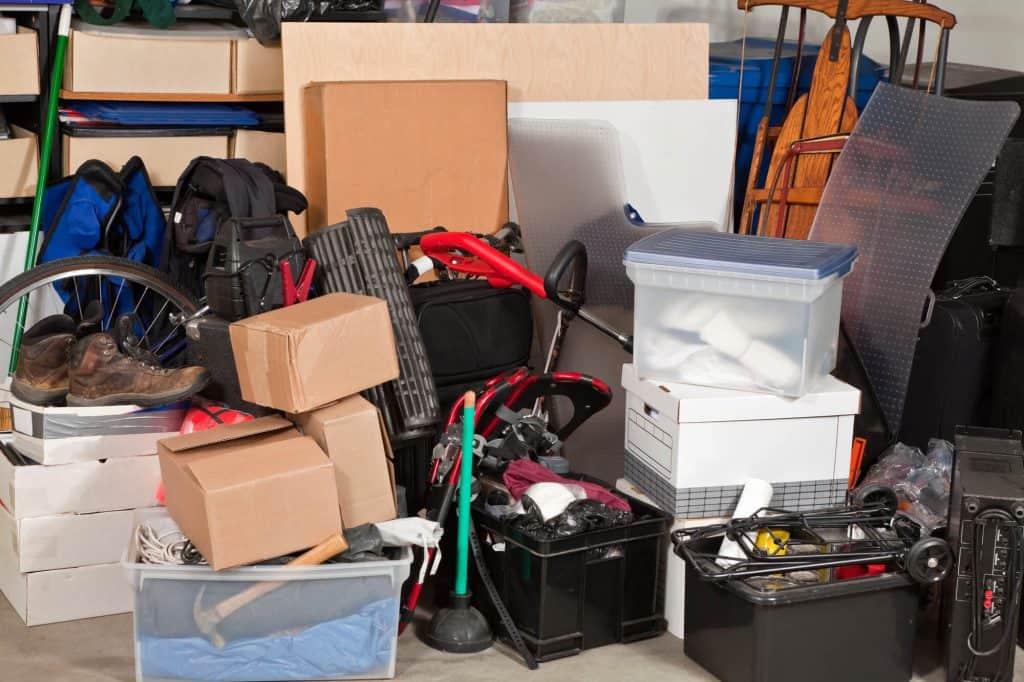
Day 6: Garage
Day six is time for the dreaded garage.
I don’t know about your home, but in mine, the garage is hands down the worst dump zone. Every item that is on its way to the donation station, waiting for its new owner to pick it up, rarely used, or doesn’t have a designated home, ends up in the garage.
And that doesn’t even account for the stuff that actually belongs in there!
Grab your garbage bag and basket for stuff that belongs in another room. You won’t need the donation basket because you’re going to open up the trunk of your car and place the donations directly in the trunk.
I like to warn the rest of the family before I declutter the garage. That gives them a chance to remove anything they really want to keep.
Garbage and Cardboard
Start the day by picking up and trashing any garbage. Break down cardboard boxes and stack in a pile for recycling. Better yet, have somebody take them to the recycling center right away if possible.
Visible Surfaces
Go through everything sitting out on open, visible surfaces and either put it away, throw it away, or put it in the trunk for donation.
Storage
Once you have the visible surfaces cleared off, start working through any cabinets, storage closets, or toolboxes. Eliminate duplicates and broken items.
Finally, go through any storage bins, especially if you haven’t opened them in several years. If you don’t need the stuff, just get rid of it.
Day 7: Office, Paperwork & Digital Files
Final day! You’ve been working really hard and you’re probably worn out, but you’re on the home stretch now. Just one major day left.
As usual, grab your garbage bag and baskets. You might also want to have a shredder handy.
Office Supplies
Clear the visible surfaces and remove any items that belong in another room. Put away items that were left out. Go through your office supplies and decide which ones you really need. Chances are you’ll be just fine with ten pens instead of thirty.
Gather your electronics, extension cords, and charging cords all in one place. Get rid of all old ones and keep only the ones that you currently use.
Paperwork
Now go through your paperwork. Keep your taxes for the last seven years and shred the rest along with any bill or banking statements that are more than a month old. This stuff is all available online. If you aren’t comfortable with that, scan the documents and store them digitally on a thumb drive or external hard drive.
Place paper keepsakes and photographs in albums or special boxes. You can also scan these and store them digitally.
Digital Files
Now that I told you to put all of your paper into digital files, I’m going to tell you to declutter them! Yes, I see the irony, but you know as well as I do that there are probably hundreds of pictures and documents on your thumb drive, home computer, and smartphone that need to be deleted.
Start by going through your email. File the emails you want to keep and delete any you’ve already dealt with or no longer need. When you finish that, go through your pictures. Delete any that are duplicate, too blurry, or no longer needed. I think you’ll be surprised how many you’re able to get rid of.
Wrap Up of Your Week to Declutter Your House
Now sit down with your favorite adult beverage so we can celebrate reflect on your week.
You started day one with a whole house surface declutter then went deep in the main living areas on day two.
Day three consisted of decluttering the bathrooms, laundry room, and linen closets, then day four got real. You had to start making tough decisions while you tackled the bedrooms and clothing.
Day five had you digging through the kitchen, throwing away food, and eliminating cool but unused gadgets.
Day six was the garage challenge, and day seven capped the week off with all things paper and digital.
It’s a lot, but you did it and you got it all done in one week. Now you can enjoy your newly decluttered house, but be sure to establish some habits and routines to keep it that way.
Click here to send me your decluttering story with before and after pictures and I may feature your transformation on the blog.
Enjoy your happy, decluttered home.