
The 7 Best Ways to Dust Your Home: Yes, It Matters!
If you’re anything like me, you really don’t enjoy dusting. It’s a thankless job that feels like a complete waste of time. Fortunately, there are a few ways to make it a little less annoying. Today I’m sharing the best ways to dust your home effectively so you can just get it done already!
Take a look around, dust bunnies have settled into every area of your home. Those dirty stinkers are a combination of dead skin cells, pet dander, pollen, and other matter. Gross!
The airborne particles float around and settle on the soft and hard surfaces throughout your entire house. Left unchecked, those pesky little particles will make your furniture and other surfaces look dirtier than they actually are.
Dust mites and other particulates can exacerbate existing health problems including allergies and respiratory issues. That’s no fun at all.
Stop letting a dusty house drive you crazy and make you sick. Try these great cleaning tips that make dusting your home a little easier.
How to Get All of the Dust Out of Your Home
Getting rid of dust can be an extensive and tedious process, but it doesn’t have to be. Here are some great tips and methods to up your dusting game and leave your house sparkling.

1. Use the Right Tools
There are tons of fancy dusting tools these days, but some aren’t very effective. To properly dust your home, you need tools that remove the dust particles instead of pushing them around. I’m looking at you, feather duster!
- Microfiber Cloths – Quality microfiber cloths are made up of tiny little split fibers that have the ability to pick up and hold on to particles as small as bacteria. Yet they’re soft enough to prevent scratching even the most delicate surface area.
- Vacuum Cleaner with a HEPA Filter and Brush Attachment – A good vacuum cleaner is great for dusting hard and soft surfaces. The brush gets into most of the crevices, and the filter traps and holds the dust inside the vacuum.
- Microfiber Blind Tool – A 3-prong microfiber wand is great for wide slats, while a 7-prong wand works better for narrow ones. Both are very effective and easy to wash. For a DIY version, secure microfiber cloths around a pair of tongs with rubber bands. Grip and slide across each slat to remove dust.
- Telescoping Pole with Attachments – An extendable pole with dusting attachments makes cleaning vaulted ceilings, walls, light fixtures, and ceiling fans a piece of cake. You won’t even need a ladder to reach these high places.
- Brushes – Knick-knacks, picture frames, and ornate furniture are notorious for hard-to-reach areas. The most efficient way to clean those tight spots is using a paintbrush or detailing brush to loosen and remove the dust particles other tools can’t reach.
- Canned Air – Even the best brushes can’t clean super tight spots, so give them a shot of canned air to blast the dust out.
I don’t recommend using furniture polish because most contain toxic chemicals and can negatively affect your indoor air quality. Besides, dry dusting works better!
2. Dust Each Surface Area Regularly
Dusting isn’t anybody’s favorite household task, but it is one of the more important ones. You can make it a lot easier by following a regular dusting schedule. The less dust there is, the quicker you’ll be able to complete the task each time.
Besides incorporating dusting into your regular cleaning routine, you can strategically place a dry cloth in key areas of your home so you can give dusty surfaces a quick touch-up any time you’re nearby.
Stash a dusting cloth in a drawer or basket on a side table for easy living room and bedroom touch-ups. Keep one in the bathroom vanity for quick countertop clean-ups, and don’t forget the kitchen.
This will make it easier to stay on top of dusting and keep your house looking clean and tidy all the time. I would still recommend doing some deep dusting periodically, but you won’t have to do as much if you’re spot dusting on a daily basis.
3. Start Fresh
Before you dust a specific area, remove the clutter that doesn’t belong there. Extra items will get in your way and make the task so much harder.
With the extra items out of the way, dust all small decor items before dusting the surfaces they are sitting on. Once you start dusting, make sure to get all of the nooks and crannies on those small items.
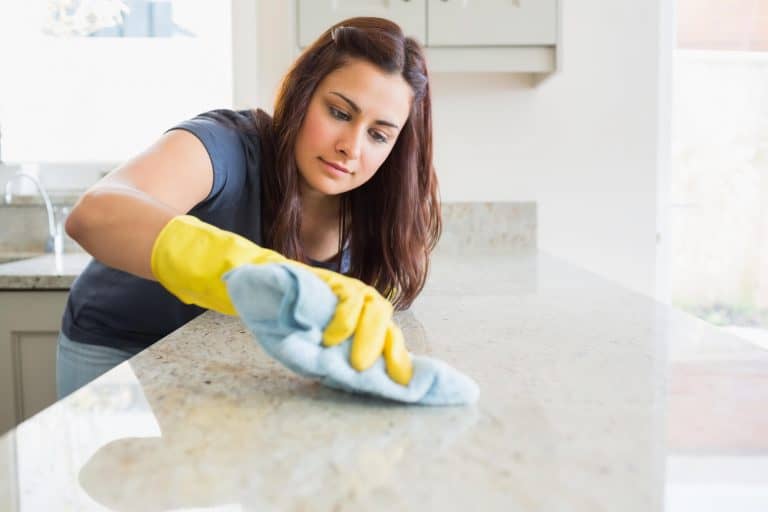
If you’re dealing with a large amount of heavy dust buildup, you might want to make the initial pass with a slightly damp cloth to break up any grime. Then do a second pass with a dry cloth to get anything left behind.
GET YOUR CLEANING DONE DURING THE WEEK!
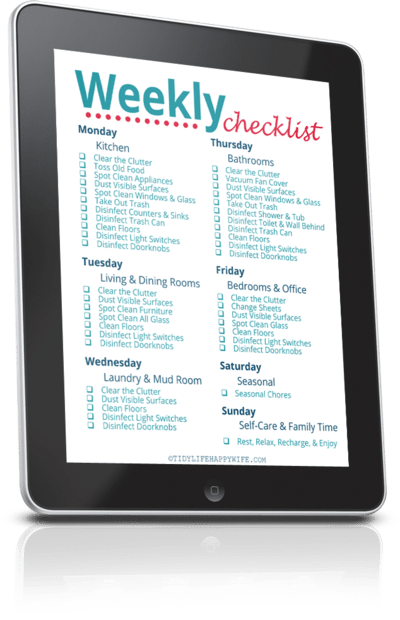
Join thousands of VIPs for cleaning, decluttering, and organizing tips sent straight to your inbox. As a welcome gift, we’ll send you this FREE printable Weekly Cleaning Checklist that lists exactly what to deep clean in every room of your home.
4. Work From the Top Down
The most annoying thing about dust is that it has a tendency to get everywhere. This is why the most effective way to dust is to work from the top of the room, down. You don’t want to accidentally push dust back onto freshly cleaned surfaces.
Any time you’re dusting an entire room, I recommend starting with ceilings and hanging fixtures, then high shelving, door frames, and the tops of furniture such as cabinets.
From there, keep working your way down to the floor. Save the sweeping or vacuuming for last so you can pick up all of the fallen particles.
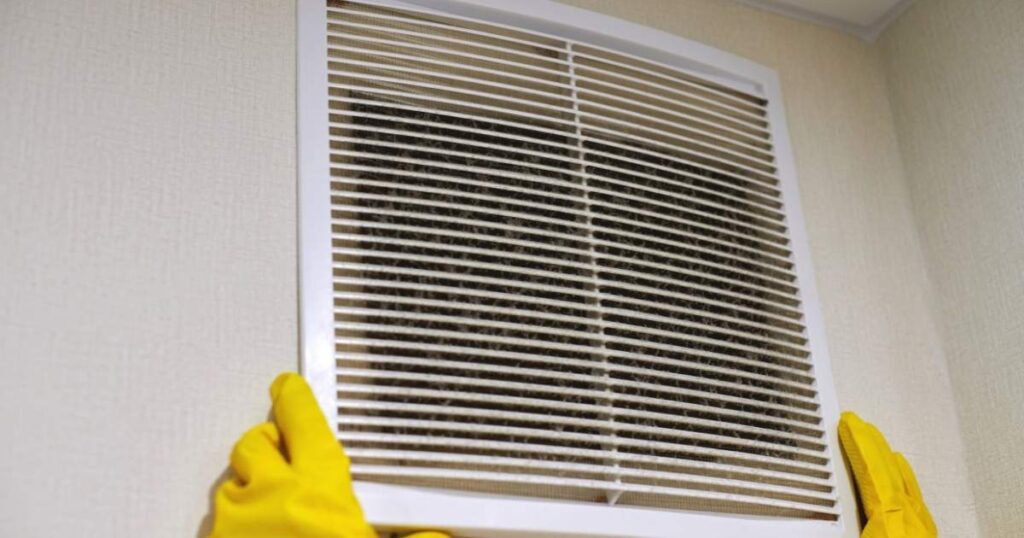
5. Don’t Forget to Dust the Vents
Every bit of air in your home passes through an air handling system of some kind regardless of whether it’s for heating or cooling. The vents for the furnace and air conditioning system will be some of the dustiest places in your home.
A great way to control the dust is to keep all HVAC system vents as clean as possible, including your bathroom exhaust fan covers and your return air vents.
I recommend using brushes, such as a vacuum brush extension or paintbrush, to dust these hard-to-clean vents. The brushes will get in between the grates and help you remove all of the dust.
I also recommend cleaning the motor on your furnace, air conditioner, or heat pump at least once a year. If you’re handy you can DIY this task. If not, call your local HVAC company for service.
Want to keep some of that dust out of your vents? Try getting an air purifier. You might need a few depending on the square footage of your home.
6. Pay Special Attention to Gadgets & Electronics
Dusting your electronics regularly is crucial because they act like a big dust magnet.
Most home electronics have fans that pull air into the device to aid with cooling. Along with the air, these fans are very efficient at attracting dust particles.
Once the dust particles start building up on the fan cover, they restrict the airflow. A restricted airflow negatively impacts the fan’s ability to cool the device.
I recommend using a vacuum attachment to remove the dust from the fan cover on a regular basis. It’s also a good idea to keep a can of air handy to blast the dust off of the fan blades you can’t reach with the brush attachment.
It’s also worth noting that you should wipe down and vacuum around the cords running into the wall. These can be great hiding places for dust and grime to build up, so they should also be cleaned often.
7. Periodically Wash Pillows, Rugs, and Cloth Decor Items
Soft surfaces such as pillows, rugs, tapestries, curtains, soft toys, and stuffed animals are prone to dust buildup. We tend to forget about them because the dust buildup isn’t always as noticeable.
I recommend cleaning or washing these types of items on a regular basis.
Beat the dust out of rugs every couple of months. Give them a thorough shampooing a couple of times a year.
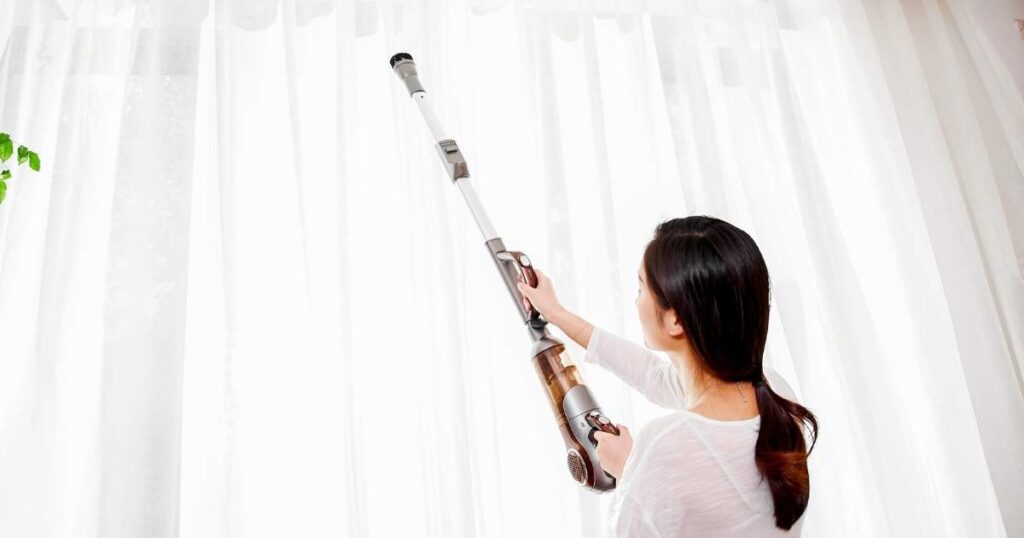
Hanging cloth items such as tapestries, draperies, and curtains should be vacuumed regularly and washed or steam cleaned a couple of times a year. Please consult each item’s cleaning instructions before proceeding.
High-contact items like pillows, throw blankets, and stuffed animals should be laundered more frequently depending on how often they come into direct contact with people and pets.
You can wash most soft goods such as pillows and stuffed animals in your washing machine. I recommend using hot water but always check the cleaning tag first.
Quickly and Easily Dust Your Home Like a Pro
Dusting your home might not be your favorite chore, but it doesn’t have to be the most difficult either.
There are plenty of ways to optimize your dusting strategy and make the hardest parts of dusting a little easier.
With the tips I’ve outlined in the list above, you’ll be dusting like a pro and have your entire home completely clean in no time at all!
GET YOUR CLEANING DONE DURING THE WEEK!
Join thousands of VIPs for cleaning, decluttering, and organizing tips sent straight to your inbox. As a welcome gift, we’ll send you this FREE printable Weekly Cleaning Checklist that lists exactly what to deep clean in every room of your home.


Hi Tanya!
Found you on Pinterest (followed you!).
Great ideas! I always pair dusting with vacuuming since dust particles fly everywhere. Thanks for the tool recommendation!
Thanks Elna! Happy they helped!