
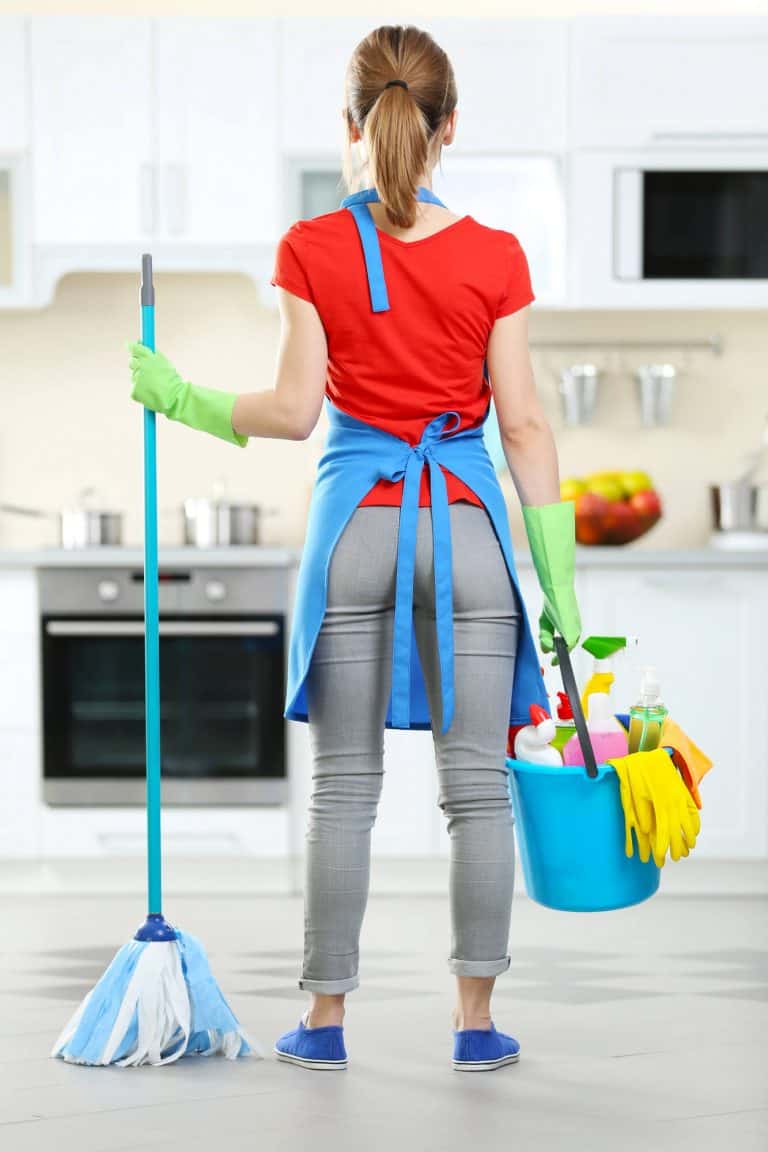
Silly Cleaning Mistakes You Need to Stop Making
HAVE YOU EVER BEEN CLEANING UP A MESS AND EVERYTHING YOU TRIED JUST MADE IT WORSE? INSTEAD OF LEARNING THE HARD WAY, WHY NOT CHECK OUT SOME OF THE MOST COMMON CLEANING MISTAKES PEOPLE OFTEN MAKE.
It’s inevitable, cleaning mistakes are going to happen. When they do, you have to figure out how to fix them and move on.
Some cleaning mistakes just make the job more difficult but still accomplish the same result. Some mistakes prevent you from cleaning the mess, and others just make it much worse.
Regardless of their result, you can avoid a lot of these mistakes by learning from those of us who’ve already made them. Here’s a list of some of the most common cleaning mistakes I know of, and how to fix them.
This post may contain affiliate links. Please see my disclosure policy for details.
Spraying with Disinfectant Instead of Cleaning
With all of the germs and viruses we’re exposed to every day, people have become obsessed with disinfecting surfaces.
That’s not a bad thing, but what they don’t realize is that spraying disinfectant on something doesn’t mean it’s clean.
Disinfectant works by killing germs it comes into contact with. It doesn’t actually remove the germs from the surface or penetrate past the initial surface layer of germs.
Disinfectant Fix
For maximum protection and cleanliness, clean your surfaces by wiping them with a soapy microfiber cloth and let the surface dry.
If you want to disinfect the surface, wait until it’s dry, then spray with disinfectant until the entire surface is wet. Let the disinfectant sit on the surface for the manufacturer recommended time period.
GET YOUR CLEANING DONE DURING THE WEEK!
Join thousands of VIPs for cleaning, decluttering, and organizing tips sent straight to your inbox. As a welcome gift, we’ll send you this FREE printable Weekly Cleaning Checklist that lists exactly what to deep clean in every room of your home.
Using a Feather Duster for All Dusting
Using a feather duster to dust everything is a common and easy mistake to make.
A feather duster is best used for removing a small amount of light dust from decor items and around trinkets. It has a bit of static electricity that’s supposed to collect and hold on to the surface dust.
Another mistake most people make is thinking a feather duster can hold way more dust than it actually can. They don’t shake it out often enough and use it on bigger jobs than it can handle.
Once there is a bit of visible build-up, a feather duster will just push the dust around instead of really removing it. Plus, feather dusters are notorious for leaving behind little feather remnants that just add to your mess.
Feather Duster Fix
Use a feather duster for decor items and collections that are a pain in the rear to move and clean. You’ll need to dust frequently and make sure you shake out the duster in between very small sections.
If dust has built up enough to create a visual layer, use a microfiber cloth sprayed with a dusting spray to remove the dust.
Not Cleaning In a Specific Pattern
Cleaning whatever, whenever might make you feel like you’re being productive, but that’s a mistake that’s going to add work, time, and frustration to your cleaning chores.
If you start cleaning your kitchen by vacuuming because there are some crumbs driving you crazy, you’re going to end up doing double the work. You’ll need to vacuum again after you clean off the counters.
No Pattern Fix
Always clean in a ‘top down’ or top to bottom pattern so you aren’t dirtying up surfaces you’ve just cleaned. Working in a side to side pattern will also make you more efficient and prevent re-cleaning.
When I start my spring cleaning, I dust my ceilings throughout the entire house first so I’m not stirring up any cobwebs after cleaning my furniture.

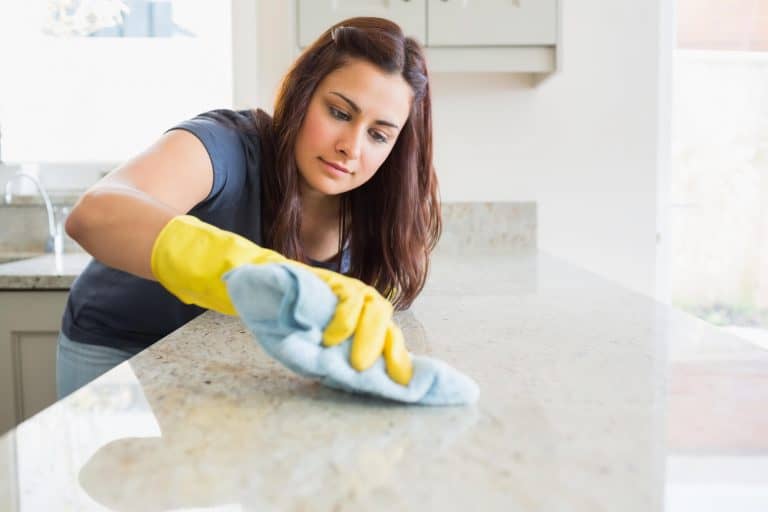
Using the Same Cloth for the Entire Job
You might be tempted to grab one cloth and use it for the entire room or even worse, you’re entire home. This would be a serious error on your part.
Different surfaces hold on to different types of dirt and bacteria. If you’re cleaning all surfaces with the same cloth, you’re cross-contaminating your entire room.
When you wipe a surface, the dirt transfers to the cloth . . . then right on to the next surface you wipe. That could be pretty gross, especially in the kitchen or bathroom.
Same Cloth Fix
Rinsing your cloth in hot water and reapplying a cleaning solution can help remedy this blunder, but the best fix is to use different cloths for different applications.
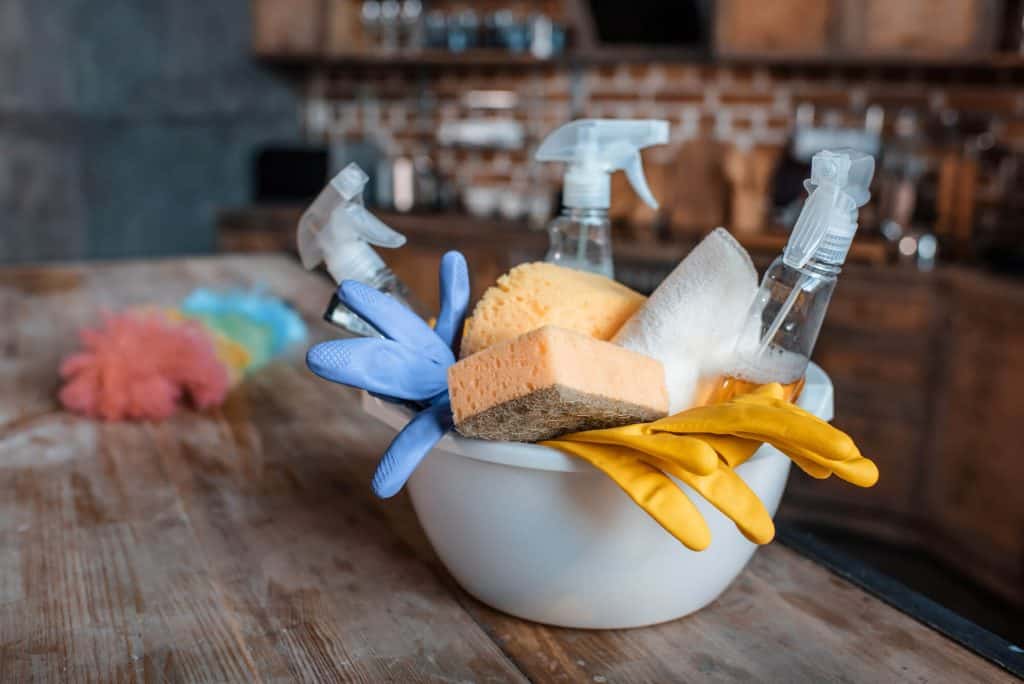
I buy my microfiber cloths in a bundle that includes different colors so I can keep them separate when cleaning. I use the blue for dirty surfaces like the floors, garbage can area, toilet, etc. The green for glass surfaces, and the yellow for cabinets, doors, etc.

Washing Windows on a Sunny Day
The sun is blasting through the window and all you can see is dust, dirt, and water stains from the winter season. You jump up and grab your window supplies to give it a quick cleaning. Big mistake.
Have you ever placed your hand on the window during a particularly sunny day? The glass gets pretty warm, and that heat will ruin your window cleaning project.
The heat from the glass will help your glass cleaner dry very quickly which prevents you from getting it all over the window and buffing it off. It’ll leave a lot of streaks that you’ll have to clean again.
Window Washing Fix
Clean your windows on a cool, clear day or early in the morning. The cooler temperatures will give you time to work in the cleaning window cleaner and get it buffed off before it starts to dry.
Your windows will end up much cleaner and streak-free.
Pro Tip: Wash the inside of the windows in one direction and the outside in the other so you can tell which side your streaks are on if they do occur.
Cleaning Windows with Newspaper
Speaking of window streaks, I’m sure you’ve heard the advice to wash your windows with newspaper to avoid streaks.
Well, DON’T! Yep, that would be a mistake. Newspaper might help prevent streaks, but as it gets wetter, the ink starts to bleed.
When you’re finished, you’ll not only have ink stains on your hands, but you’ll likely have it on your window frame (mine is white vinyl, so YUCK!), sill, and possibly surrounding walls.
Now you just created one more mess you’ll have to clean up.
Newspaper Fix
Instead of newspaper, use those nifty microfiber cloths I showed you above. They’re super absorbent and the little microfibers act like little scrubbers to make the cleaning easier.
Spraying Cleaner Directly on a Surface
We all do it, but the problem with spraying cleaner directly on a surface can cause damage to the finish and create hard-to-remove streaks.
Have you ever seen the dark spots on the edges of a mirror that seem to ‘grow’ over time? Those are caused by moisture seeping in between the mirror and the silver backing causing it to actually lift away from the glass.
Spraying cleaner directly on to a surface can also lead to excessive amounts of cleaner that’s hard to remove and creates extra work.
If you don’t get all of the cleaner off, it can create a layer of buildup that actually attracts dust and dirt.
Let’s not forget those nasty streaks you can’t get rid of because the cleaner sat on some spots longer than others. It’s going to take a ton of elbow grease to get those out.
Spraying Cleaner Fix
Apply your cleaner to your cloth. This will allow you to control the amount that gets on the surface you’re cleaning, and prevent cleaner from seeping into places you don’t want it to like the mirror.
True Confessions: I do spray glass cleaner directly on my windows, and directly on my countertops and have not seen any negative effects in my many year.
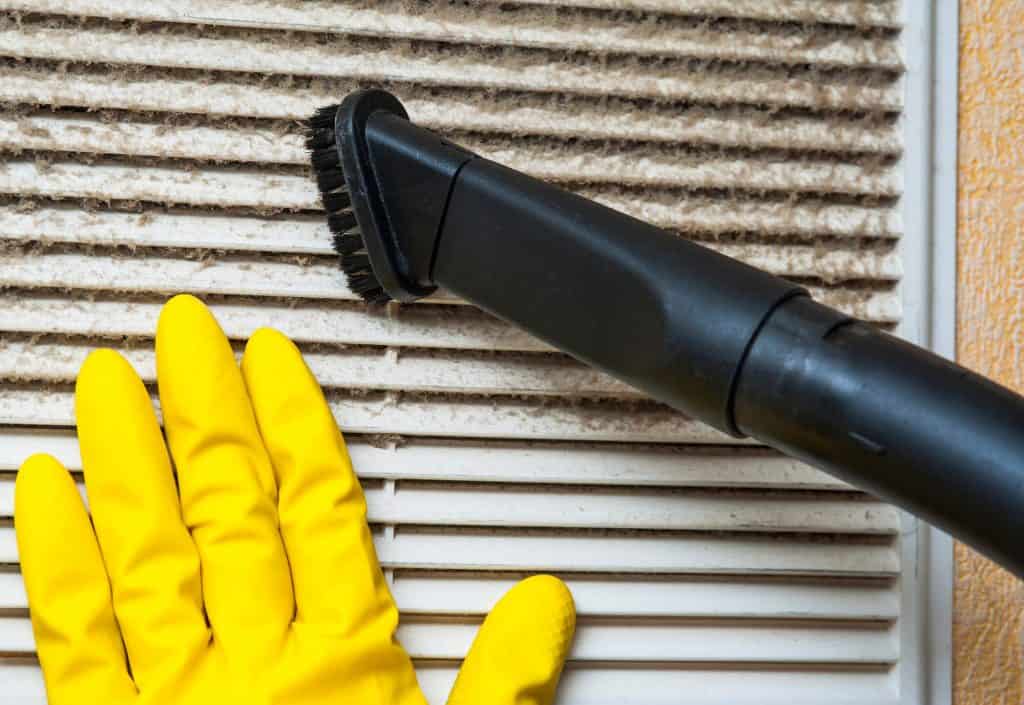
Never Cleaning Certain Surfaces
Have you ever had a ‘cleaning aha moment’?
That moment when you’re commiserating with a friend about your weekend of housekeeping slavery and you realize in horror, ‘gasp, I don’t know if I’ve ever cleaned that’. Like maybe your light switches or door handles?!
It’s ok, you’re not alone. It even happens to those of us that think we’re good housekeepers (including me).
Never Cleaned Fix
Identify the things you rarely or never clean and add them to a regular weekly or spring cleaning schedule.
Using Vinegar to Clean Everything
A lot of people recommend vinegar as a natural cleaning solution, and it’s a great choice for most applications if you can stand the smell. Just don’t make the mistake of using it on surfaces it can damage.
Vinegar is acidic and can etch and dull the polished surface of natural stone. It can also damage and dull some wood finishes, so use extreme caution if you choose to use it on furniture or hardwood floors.
Pro Tip: Definitely don’t use vinegar to clean up a broken egg. The acid will cause the egg to coagulate and solidify, which makes it much more difficult to clean up.
Vinegar Cleaning Fix
Make sure you understand which surfaces are safe to use vinegar on. When in doubt, just use soap and water.
Personally, I don’t like the smell, so I use hydrogen peroxide and rubbing alcohol for natural cleaning solutions.
Using Soap and Water on Cutting Boards
Every time you use a cutting board, you’re cutting into the surface a bit. These tiny cuts harbor a ton of bacteria that just doesn’t come out with soap and water.
Even if you’re using hot water, the tiny cuts in the board aren’t getting hot enough water to help kill the bacteria.
Cutting Board Fix
To get your cutting boards super clean and bacteria-free, scrub the entire cutting surface with salt and half of a lemon. This will remove any food particles from the little cuts.
Towel dry the cutting board, spray the surface with hydrogen peroxide or bleach and let it sit for 5-10 minutes, then rinse and dry.
Pro Tip: if your cutting board is stained or discolored, spray with hydrogen peroxide and leave it in the sun for an hour or so. The combination will have a bleaching effect on the surface.
Cleaning Stainless Steel in Circles
Stainless steel has a distinct grain pattern to it, and wiping in circles can cause the cleaner or polish to build up on the edges of the grain and leave unsightly smudges and streaks on your surface.
In extreme cases, you can actually damage or scratch the stainless steel surface.
Stainless Steel Fix
Always wipe with the grain when cleaning and polishing stainless steel.
Running Your Knives Through the Dishwasher
This one can be a costly mistake. The extreme heat in a dishwasher will dull the edge of your knife, not to mention the damage caused by all of the other silverware and dishes banging around against the blade
The hot water does so much damage, you’ll likely have to take it to a professional to have the blade resurfaced and sharpened.
Knife Blade Fix
Always hand wash knives in warm soapy water and dry immediately.
Washing Non-Stick Pans in the Dishwasher
Much like the knives, the high heat of a dishwasher can damage your non-stick pans. It eats away and erodes the non-stick coating very rapidly.
Non-Stick Pan Fix
Always hand wash your non-stick pans and be careful to not use an abrasive sponge or cloth. If you have a stuck-on mess, try a nylon scraper to help remove it.


Using Bleach on Everything
Bleach is a great cleaner for a lot of applications, but there are some things it just doesn’t clean. Two of the most notable are rust and mold.
You’re thinking ‘wait a minute’, I’ve used bleach on mold. You might have, it is effective if the mold is growing on a smooth surface, but if you find mold on a porous surface, the bleach will never reach the source of the mold to kill it.
Have you ever cleaned mold from grout or shower caulking just to have it pop back up a couple of weeks later?
Now for the rust. The power of bleach comes from oxidation, and rust is an iron oxide corrosion. Bleach will only cause rust to spread faster.
Bleach Fix
Never fear, hydrogen peroxide to the rescue – again! Hydrogen peroxide is a powerful disinfectant that gets into the pores and attacks rust and mold at the surface.
Are you starting to feel like I’m obsessed with hydrogen peroxide for cleaning? I think you’re on to something.
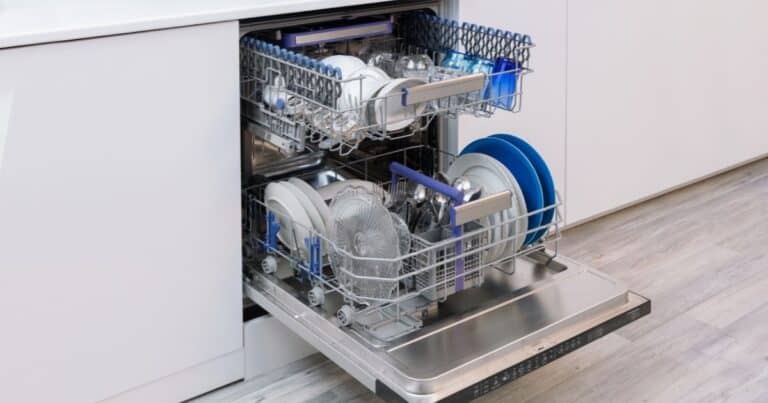
Overloading the Dishwasher
Overloading the dishwasher is a pretty common cleaning mistake. In our quest to do more in less time, we overwork our appliances.
Overloading the dishwasher will prevent the soap and water from reaching all of the dishes with the required amount of pressure to properly clean and rinse them.
Overloaded Dishwasher Fix
I hate to state the obvious, but, uh, don’t overload the dishwasher. Make sure that dirty dishes aren’t packed to snugly or stacked in a way that will prevent soap and water circulation.
Also pay attention to where your sprayers are and take caution to not block them.
Overstuffing Your Washing Machine
Just like the dishwasher, overstuffing the washer prevents the clothes from getting proper water and soap circulation required to get them clean
Overstuffed Washing Machine Fix
Don’t overstuff the washing machine. If you’re pushing on your laundry load to get it to fit into the washer, that’s way too much stuff.
Place clothes in the washer in a natural, gentle manner, and stop when there’s resistance.
Using Too Much Detergent When Doing Laundry
More is not always better, and that’s certainly the case with laundry detergent. Excess laundry detergent can cause several problems.
Washing machines are designed to work with specific amounts of detergent. Too much detergent can cause high-efficiency washers to fault out because of the suds.
The extra detergent is difficult to rinse out and can cause a build-up on your clothes. That build-up can make your clothes smell and look dirty.
Extra detergent makes your washer work harder and causes extra wear and tear, as well as leaves your clothes wetter after the spin cycle.
Excess Detergent Fix
Always follow the manufacturer’s directions on your laundry detergent, and make sure you’re buying the right kind of detergent per your washing machine manufacturer.
If you inadvertently add too much detergent, run the rinse cycle a second time to make sure the detergent is rinsed out adequately.
Putting Toilet Brush Away While Still Wet
Sorry, but this one grosses me out. Putting the toilet brush away while it’s still wet keeps the brush moist longer and allows bacteria to grow.
Even if you’re putting it into a container of cleaning solution, it’s still growing bacteria. Even bleach and peroxide will lose their cleaning properties the longer they sit.
Don’t believe me? Try it. Take a picture of a bucket of cleaning solution, then sit your dirty toilet brush in it for a couple weeks and take another picture.
See that cloudy film? That’s bacteria and yuck!
Toilet Brush Fix
My choice and the best solution, in my opinion, is disposable toilet brushes. It’s a little more expensive, but I’ll pay for that peace of mind.
Don’t want to use disposable? Clean your brush and let it dry before putting it away.
When you finish cleaning the toilet, flush. Then rinse your brush in the fresher water. Place the brush under the toilet lid and pour bleach over the brush. Let it sit there until it’s dry.


Scrubbing a Fresh Spill on Carpet or Cloth Surface
Scrubbing a spill is a huge no-no, especially if it’s a dark liquid. Scrubbing or rubbing the spill will likely cause it to spread and seep further into the fabric.
Fresh Spill Fix
Instead, spray the spot liberally with your choice of cleaner, and let it sit for 10-15 minutes. When time is up, use a dry cloth to blot the area starting at the edges and working your way in.
Repeat if needed until the stain is gone.
What Cleaning Mistakes Have You Made?
From cleaning with the wrong solutions to using the wrong technique, silly cleaning mistakes can really ruin your cleaning routine. I’ve covered quite a few of the most common mistakes so you can learn how to fix or avoid them and make your cleaning routine go much faster and easier.
What cleaning mistakes have you made that I didn’t include here?


Hi Tanya
Like many women I have a very busy life holding a job and looking after two elderly relatives (not living in same hous) and houseful of adults living in crammed tiny house in London, UK.
I lost sight of routine in keeping the house tidy and overwhelmed with all the chores. As soon as tidy one area, other areas had built up already built up – tasks overwhelmed me. I am forever going tound in circles.
I am not asking for perfectly manicured house- just cleaned. Wheni I came across your checklist I thought here is the life saver answer – set up a routine that I can follow. Unfortunately, the convi19 lockdown foes not give me an opportunity to stay at home as I am keyworker working for National Health Service . However, Im trying to do what I can focus on.. hopefully it will come as routine and it will become a breeze. Thank you for the list you share much appreciated.
I’m really happy it helps Violet. It’s tough to keep up when you’re busy and even tougher to pick up after others that can’t or don’t help. Here’s another post that might help. How to Keep Your House Clean and Tidy.